One of my favorite things to do is to experiment with IoT projects. I recently started thinking about home security and wanted to see if I could build a camera to monitor my yard. There are plenty of off-the-shelf solutions out there, but most (if not all) require you to setup a cloud account and send your video feed into the cloud before the video can be viewed locally. I’d like to have a solution that stores to an in-house location, such as a network attached storage drive, so that I can have more control over my personal data. My goal is to make something that looks professional, but is also discrete and hardly noticable. This post will be scoped to the hardware side of things, I am planning to follow up with further posts to go over how to setup a private home security system using freely available open source solutions.
Parts List
- Raspberry Pi Zero W
- Micro SD Card (8gb minimum, 32gb recommended)
- Raspberry Pi Camera
- 15cm Pi Zero Camera Cable
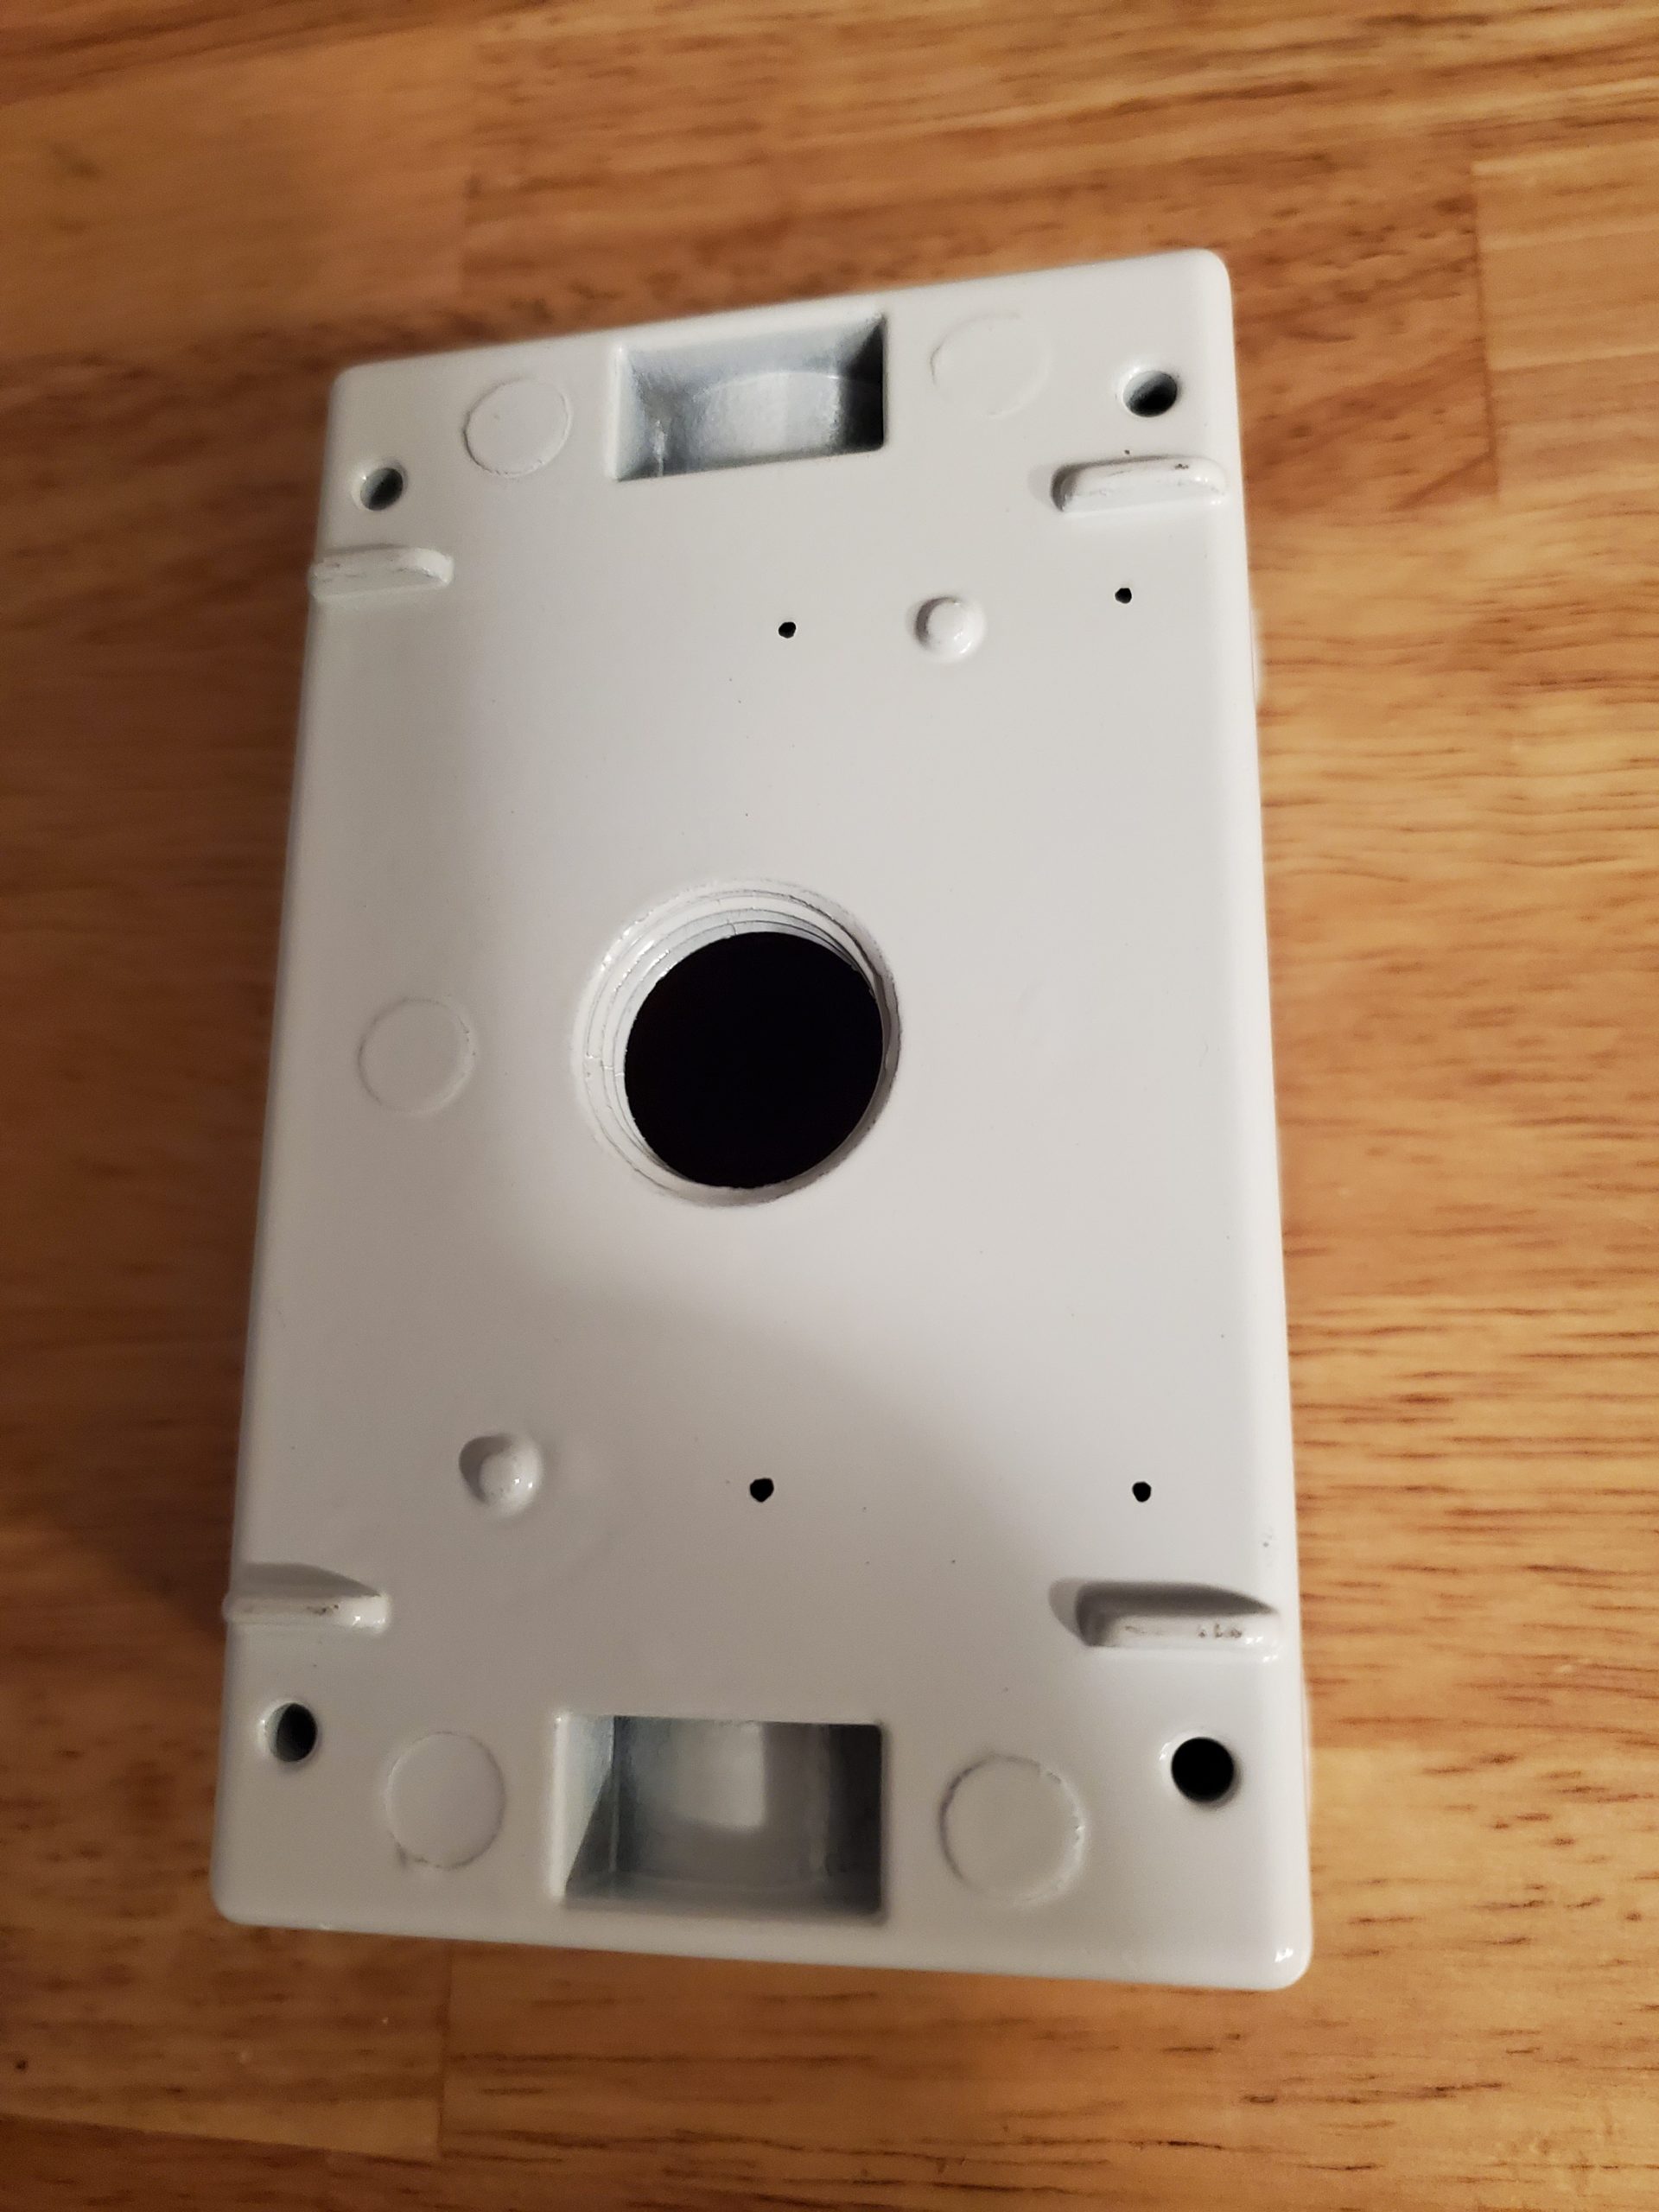
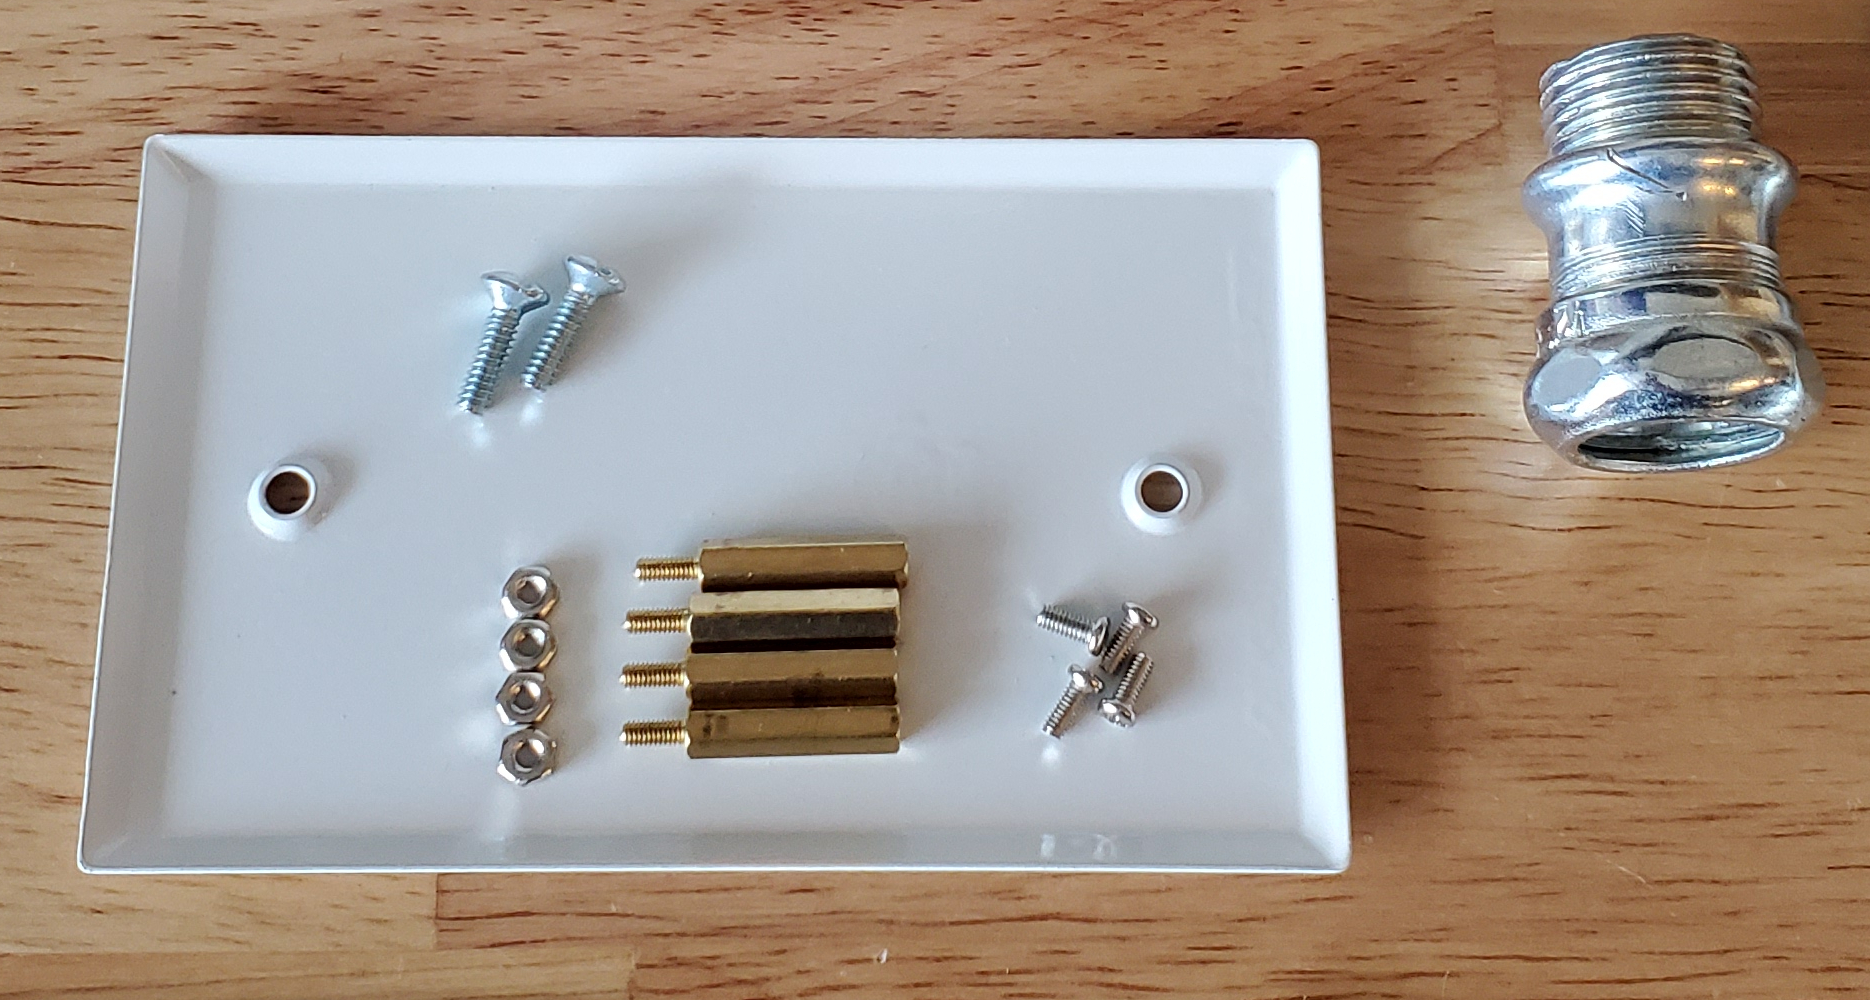
- 3-hole / 1-Gang Metal Electrical Housing
- 1-Gang Metal Blank Cover
- 6′ x 1/2″ Conduit Pipe
- 1/2″ Conuit Connector
- Pi Mounting Parts (all these came in this pack)
- 4pc – M2.5*20+6mm
- 4pc – M2.5 nut
- 4pc – M2.5 screw
- Micro-USB Cable – Length depends on your need and proximity to power.
Total project cost was around $60-$70. The individual cost can be cheaper if you build 3 or more because some of these items are easily found in small “bulk” packs.
Steps
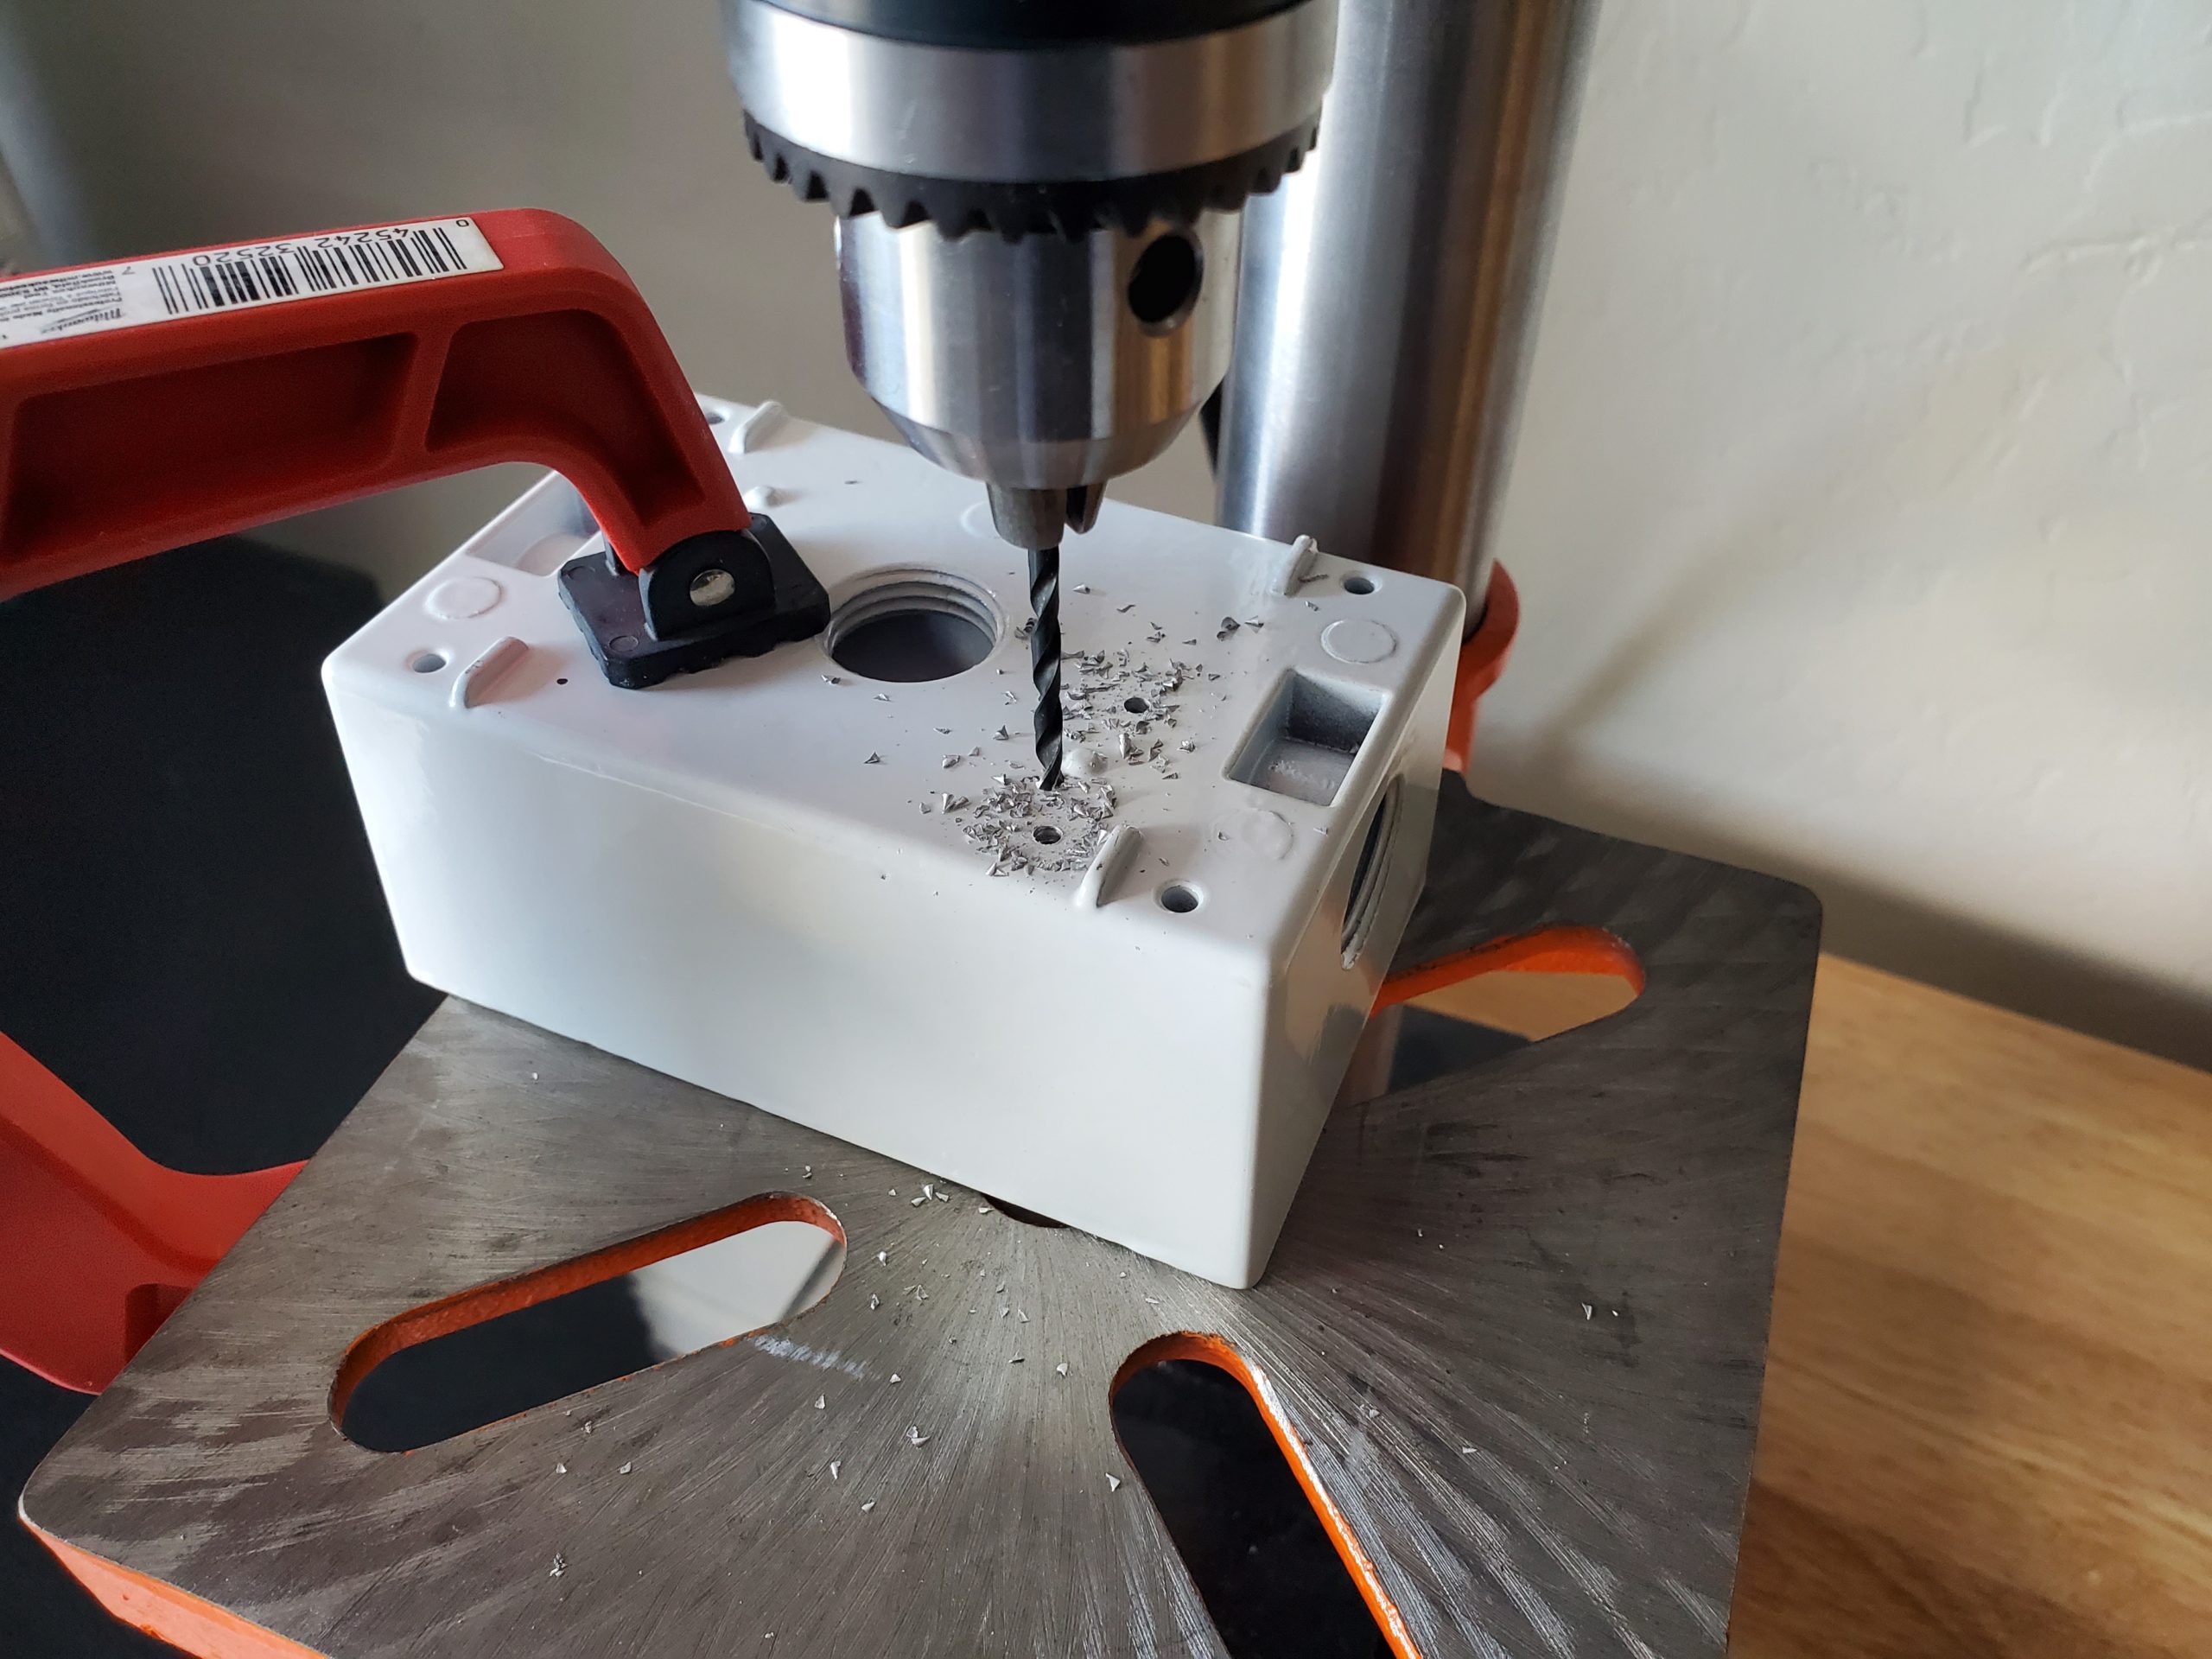
Step 1) Determine where to drill the metal housing in order to mount the Pi Zero W. To do this, place the housive face down, and use the Pi device as a stencil to mark the places to drill. The Pi device should be aligned to one side of the housing, to allow room for the USB connector while the pi is mounted inside the housing. Use a 7/64″ drill bit to make the holes in the housing. A drill press is highly recommended for acheiving perpendicular cuts. This will be important when it comes time to mount the Pi Zero W.
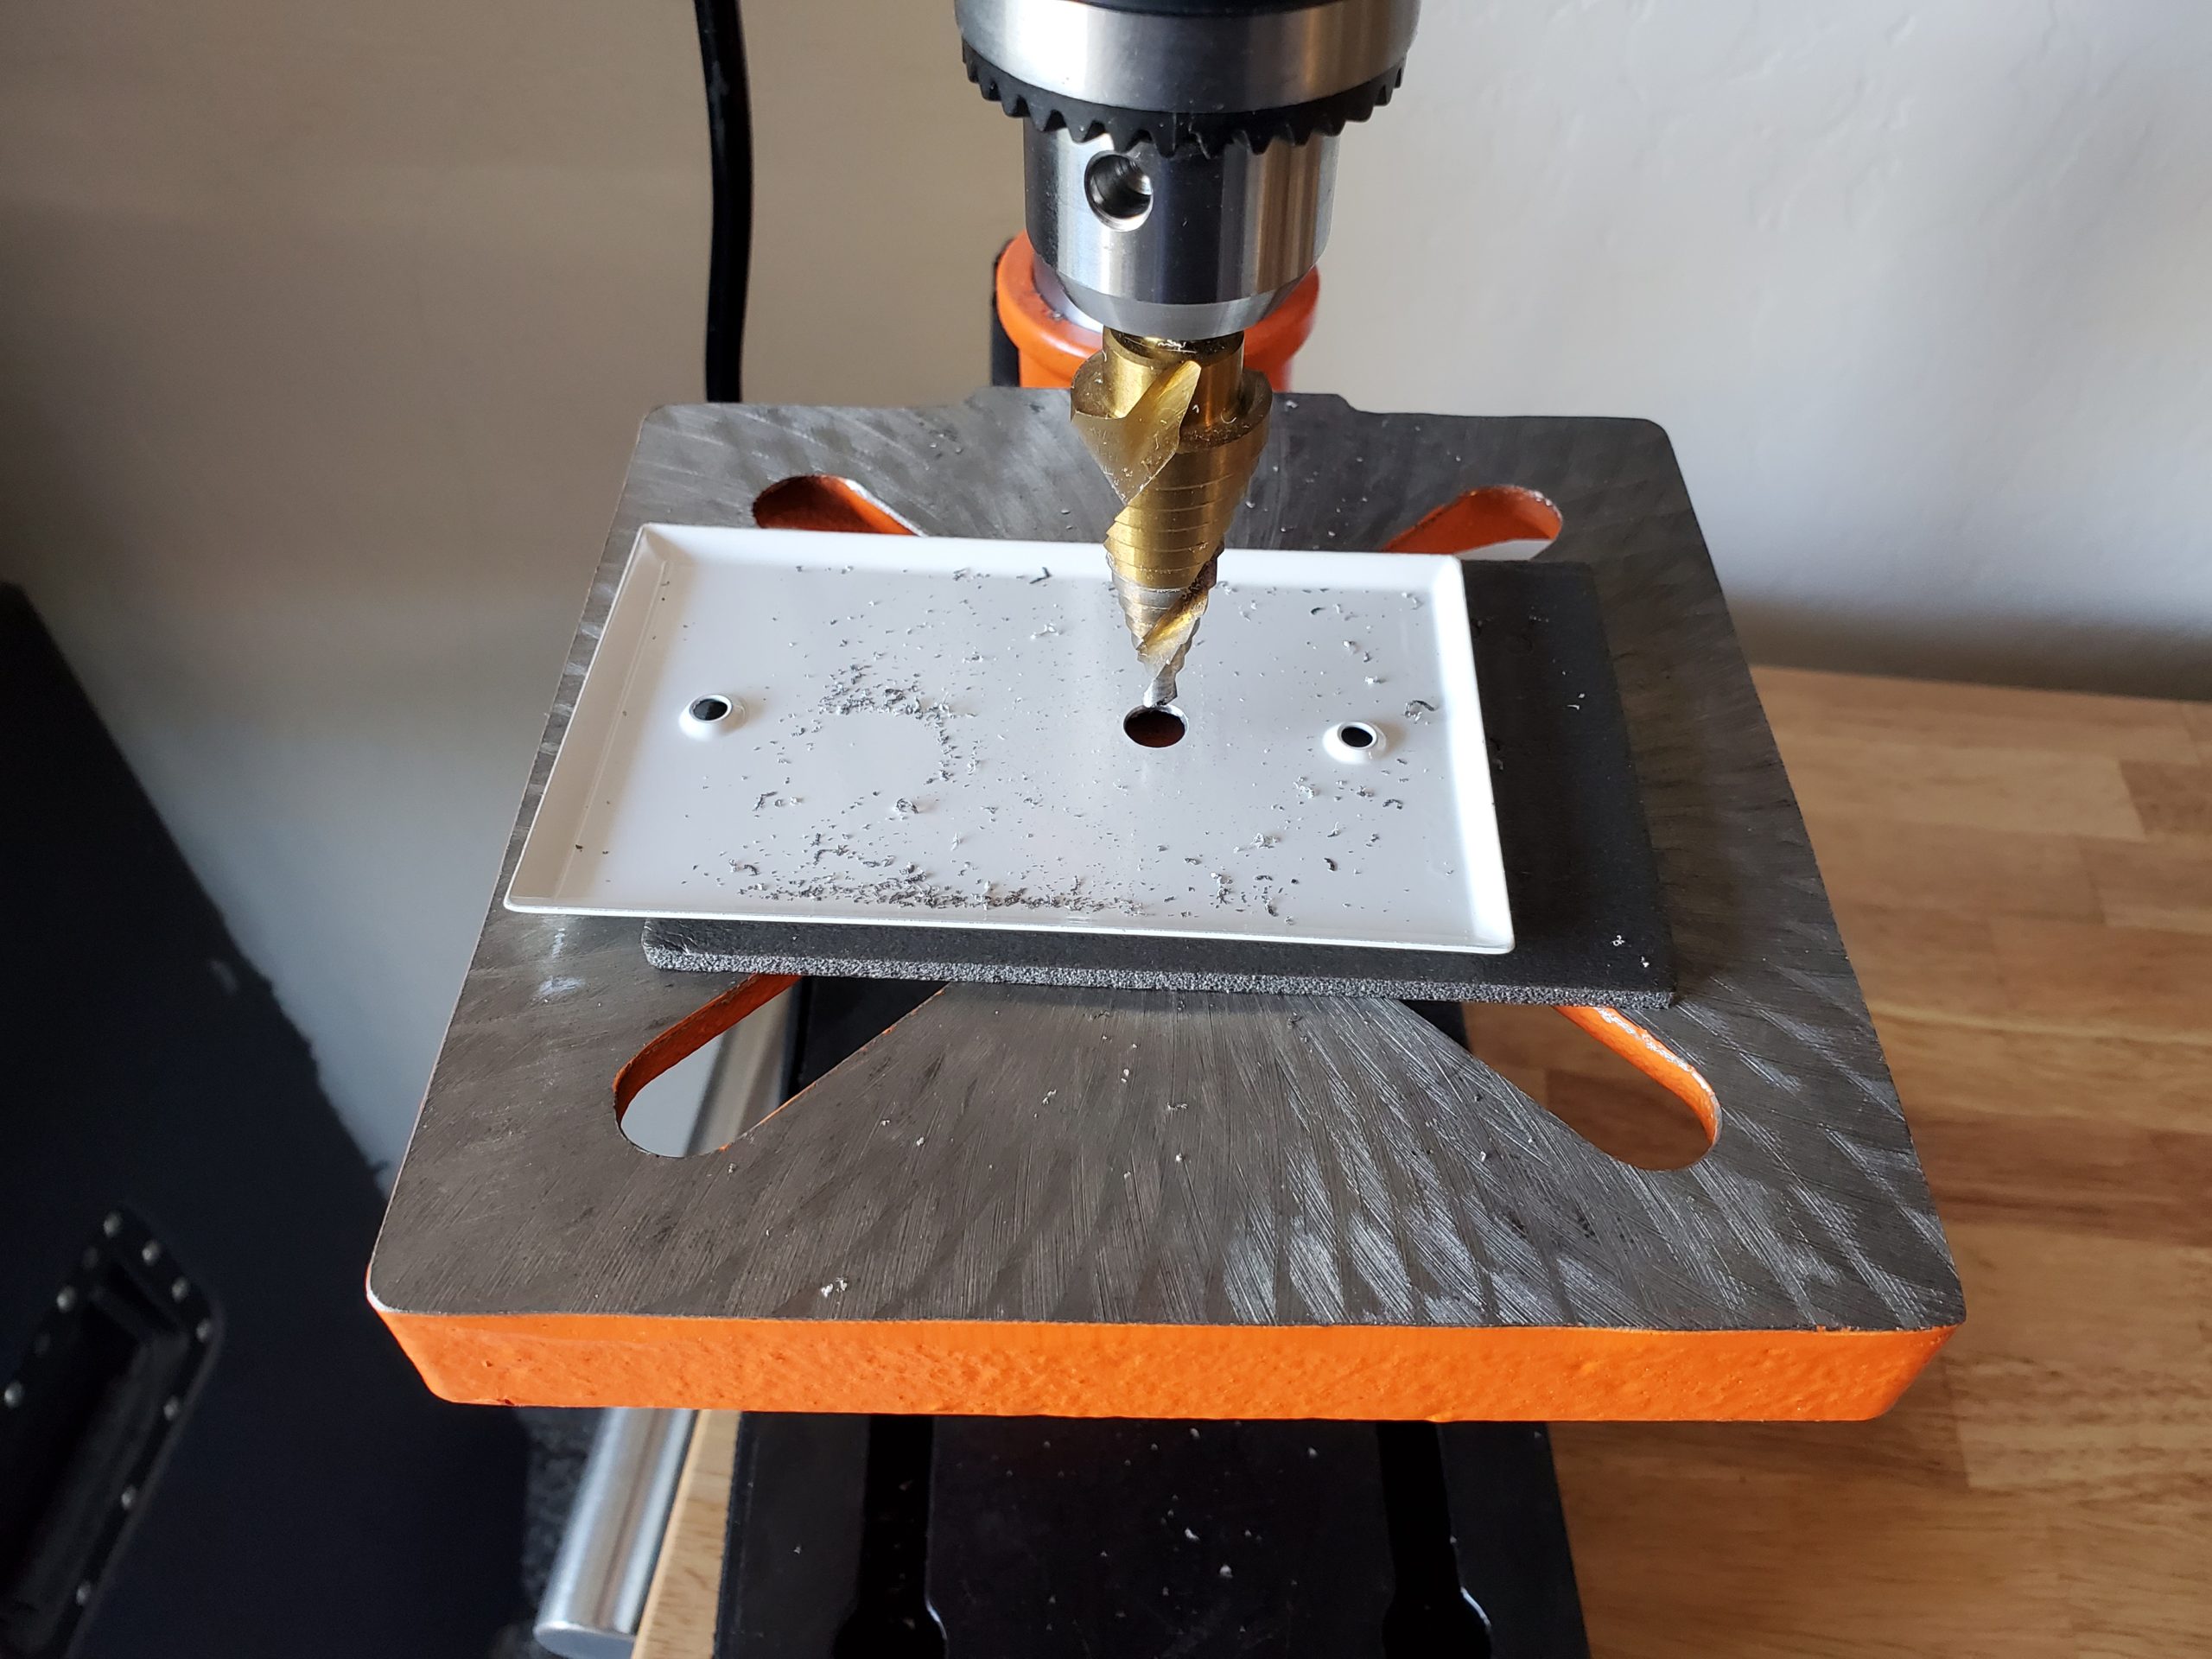
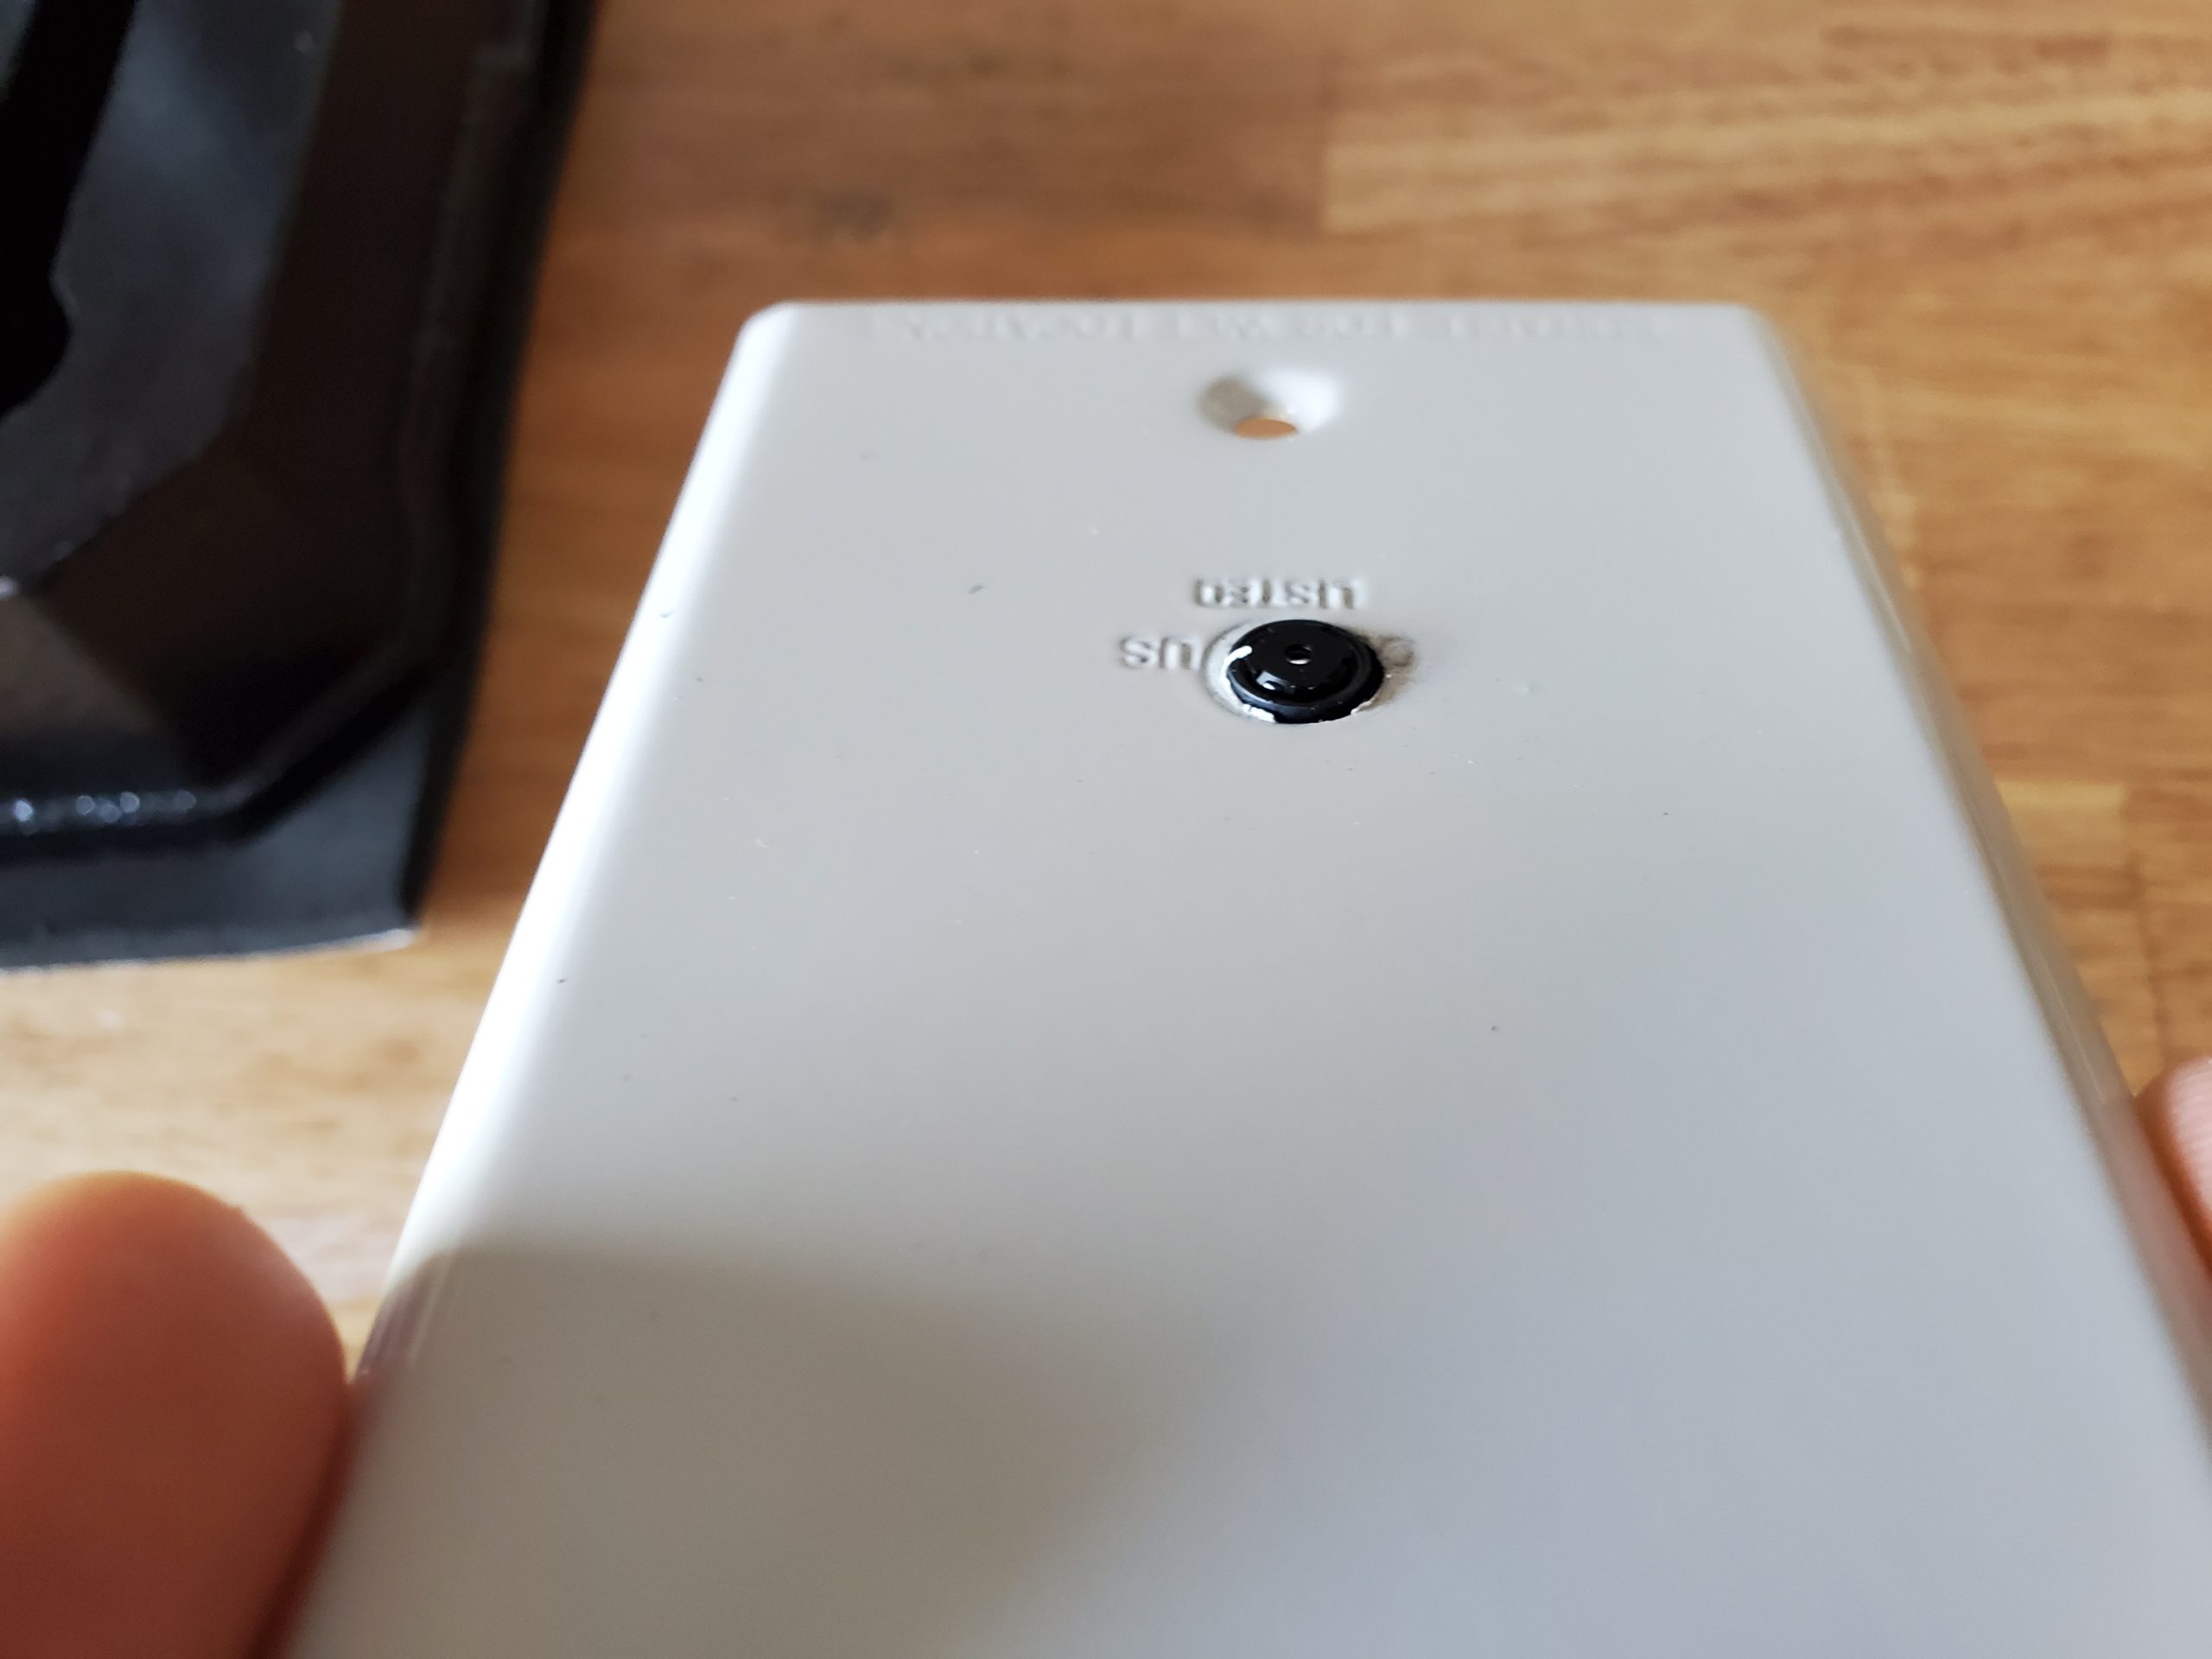
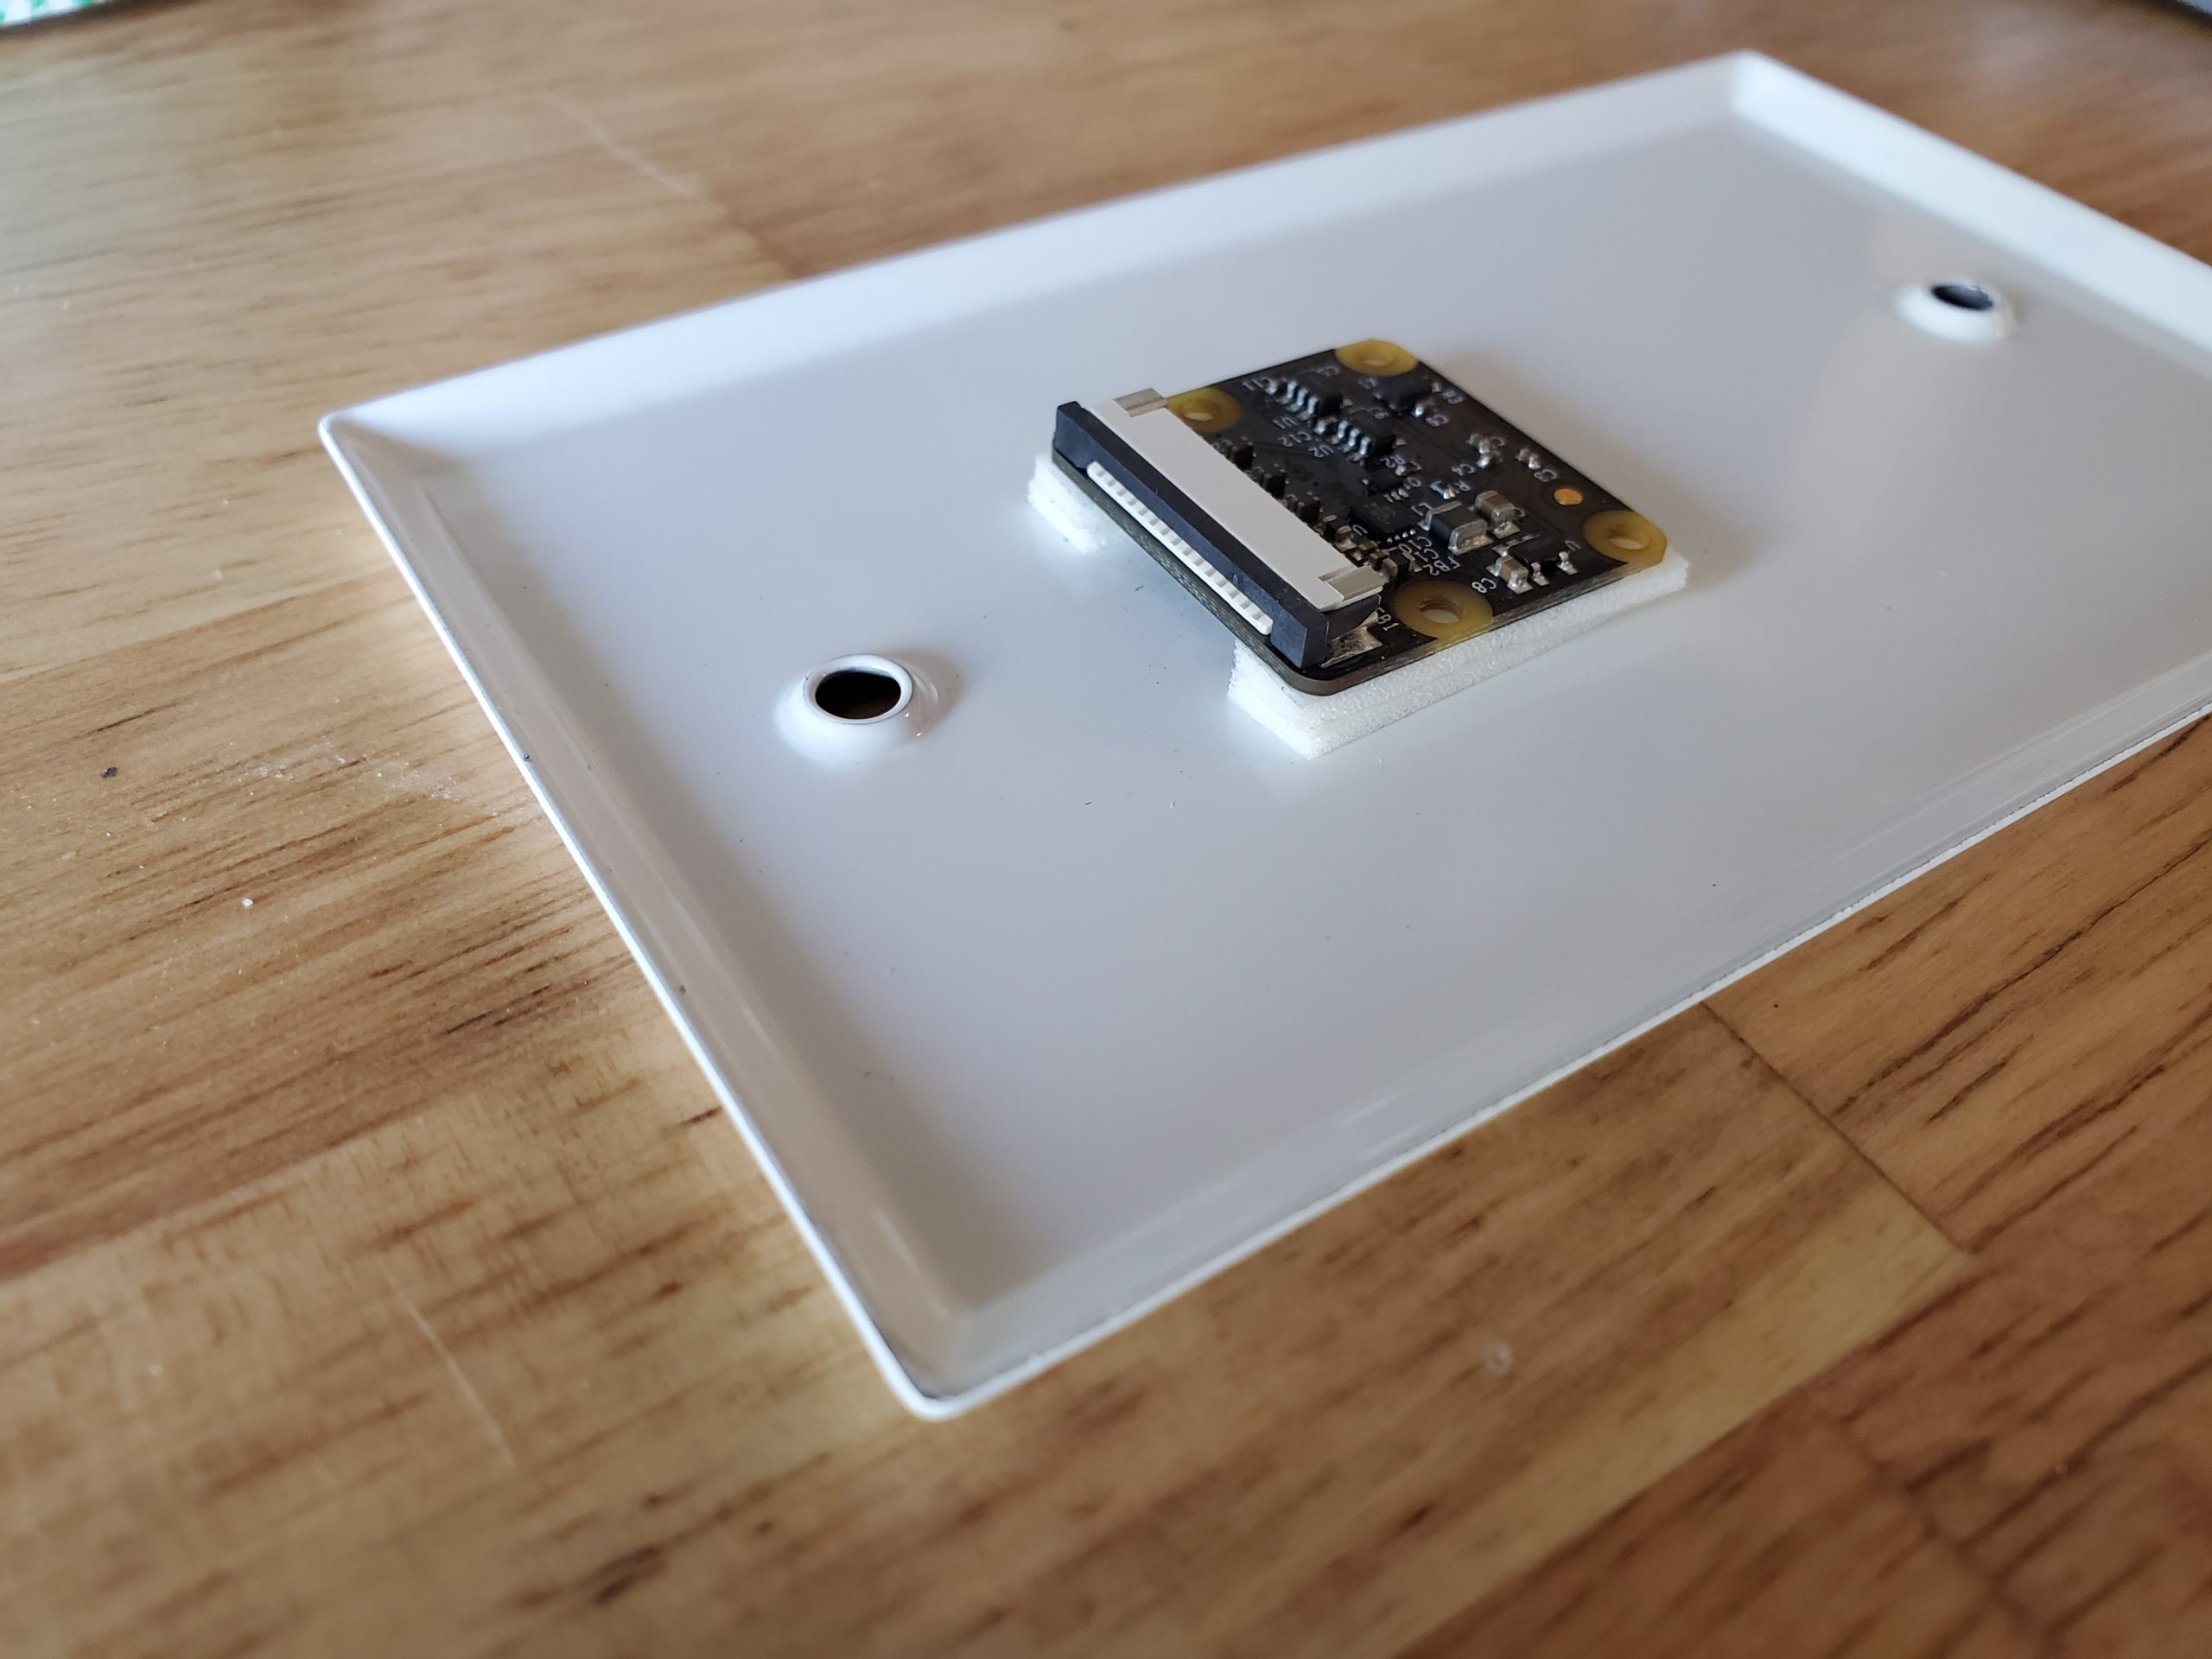
Step 2) Cut a hole in the blank metal cover using a 5/16″ drill bit. This will provide just enough room for the camera device to poke through the cover. A note on this, there are many different cameras available for the Pi, including infrared and various types of lenses such as fish-eye. You can chose the camera setup that best meets the need and tailer the cover modifications accordingly. In a future version, I am thinking of using an IR sensistive camera and integrating some IR LED lights into the face plate.
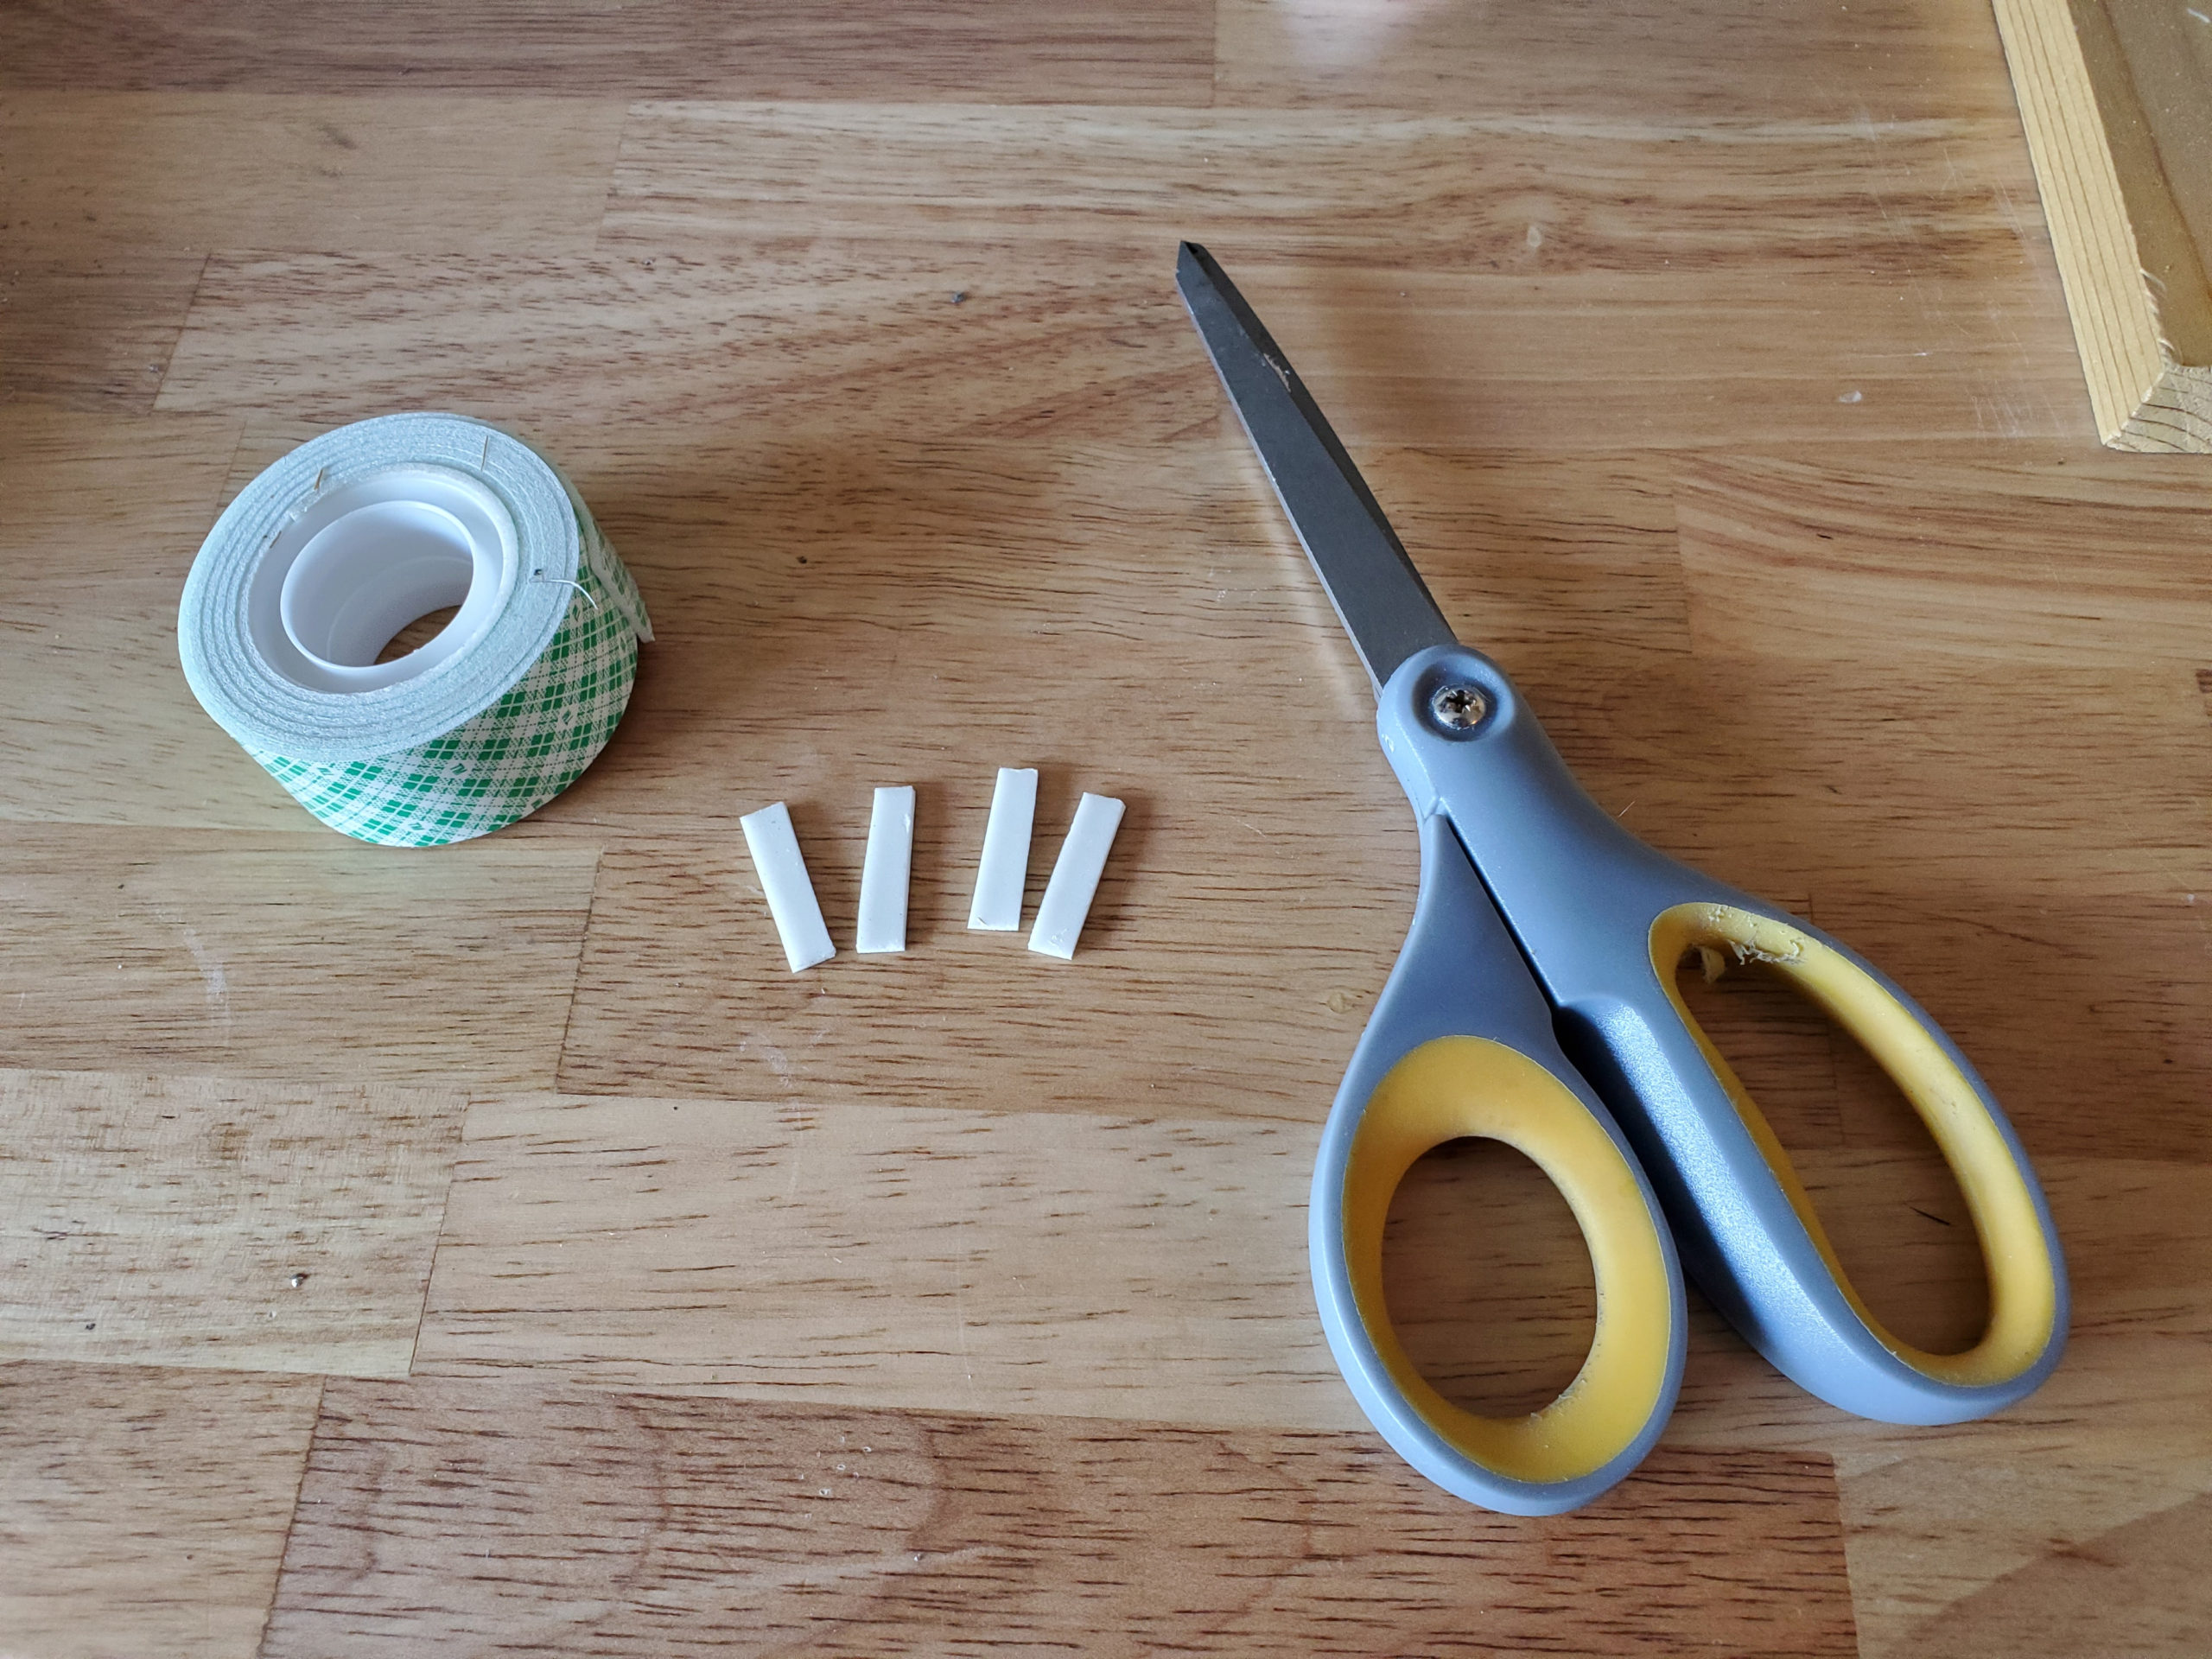
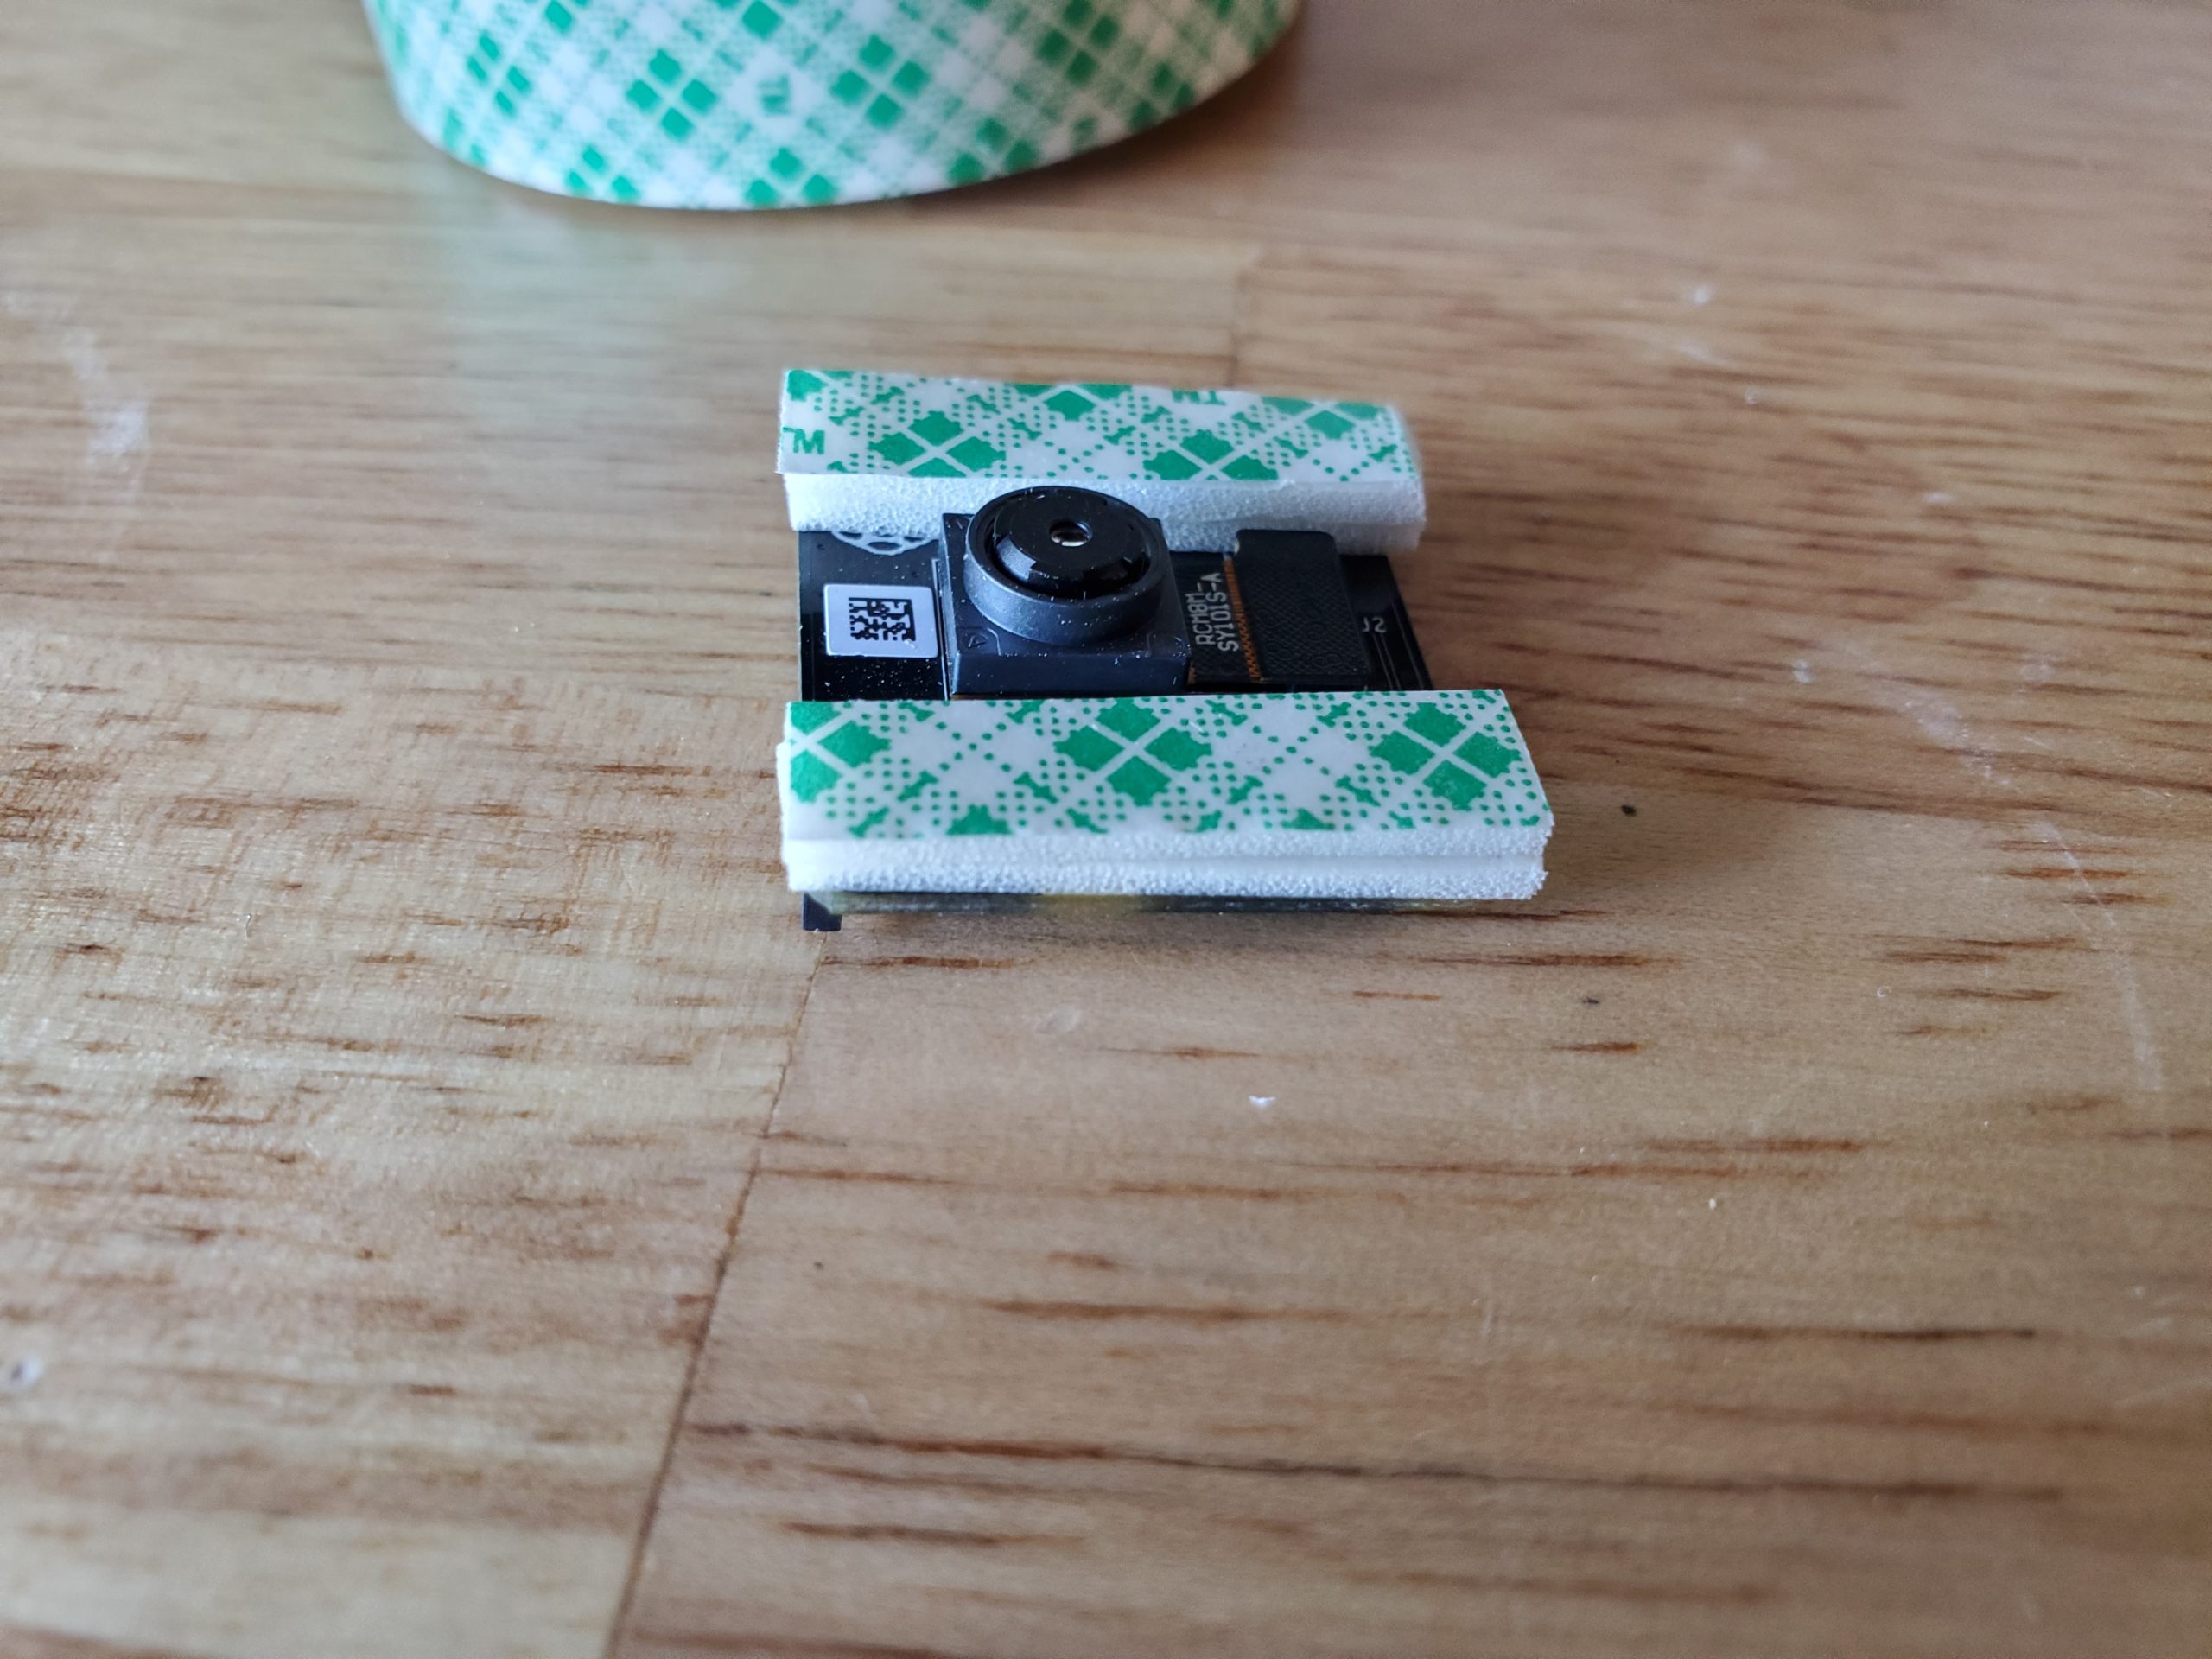
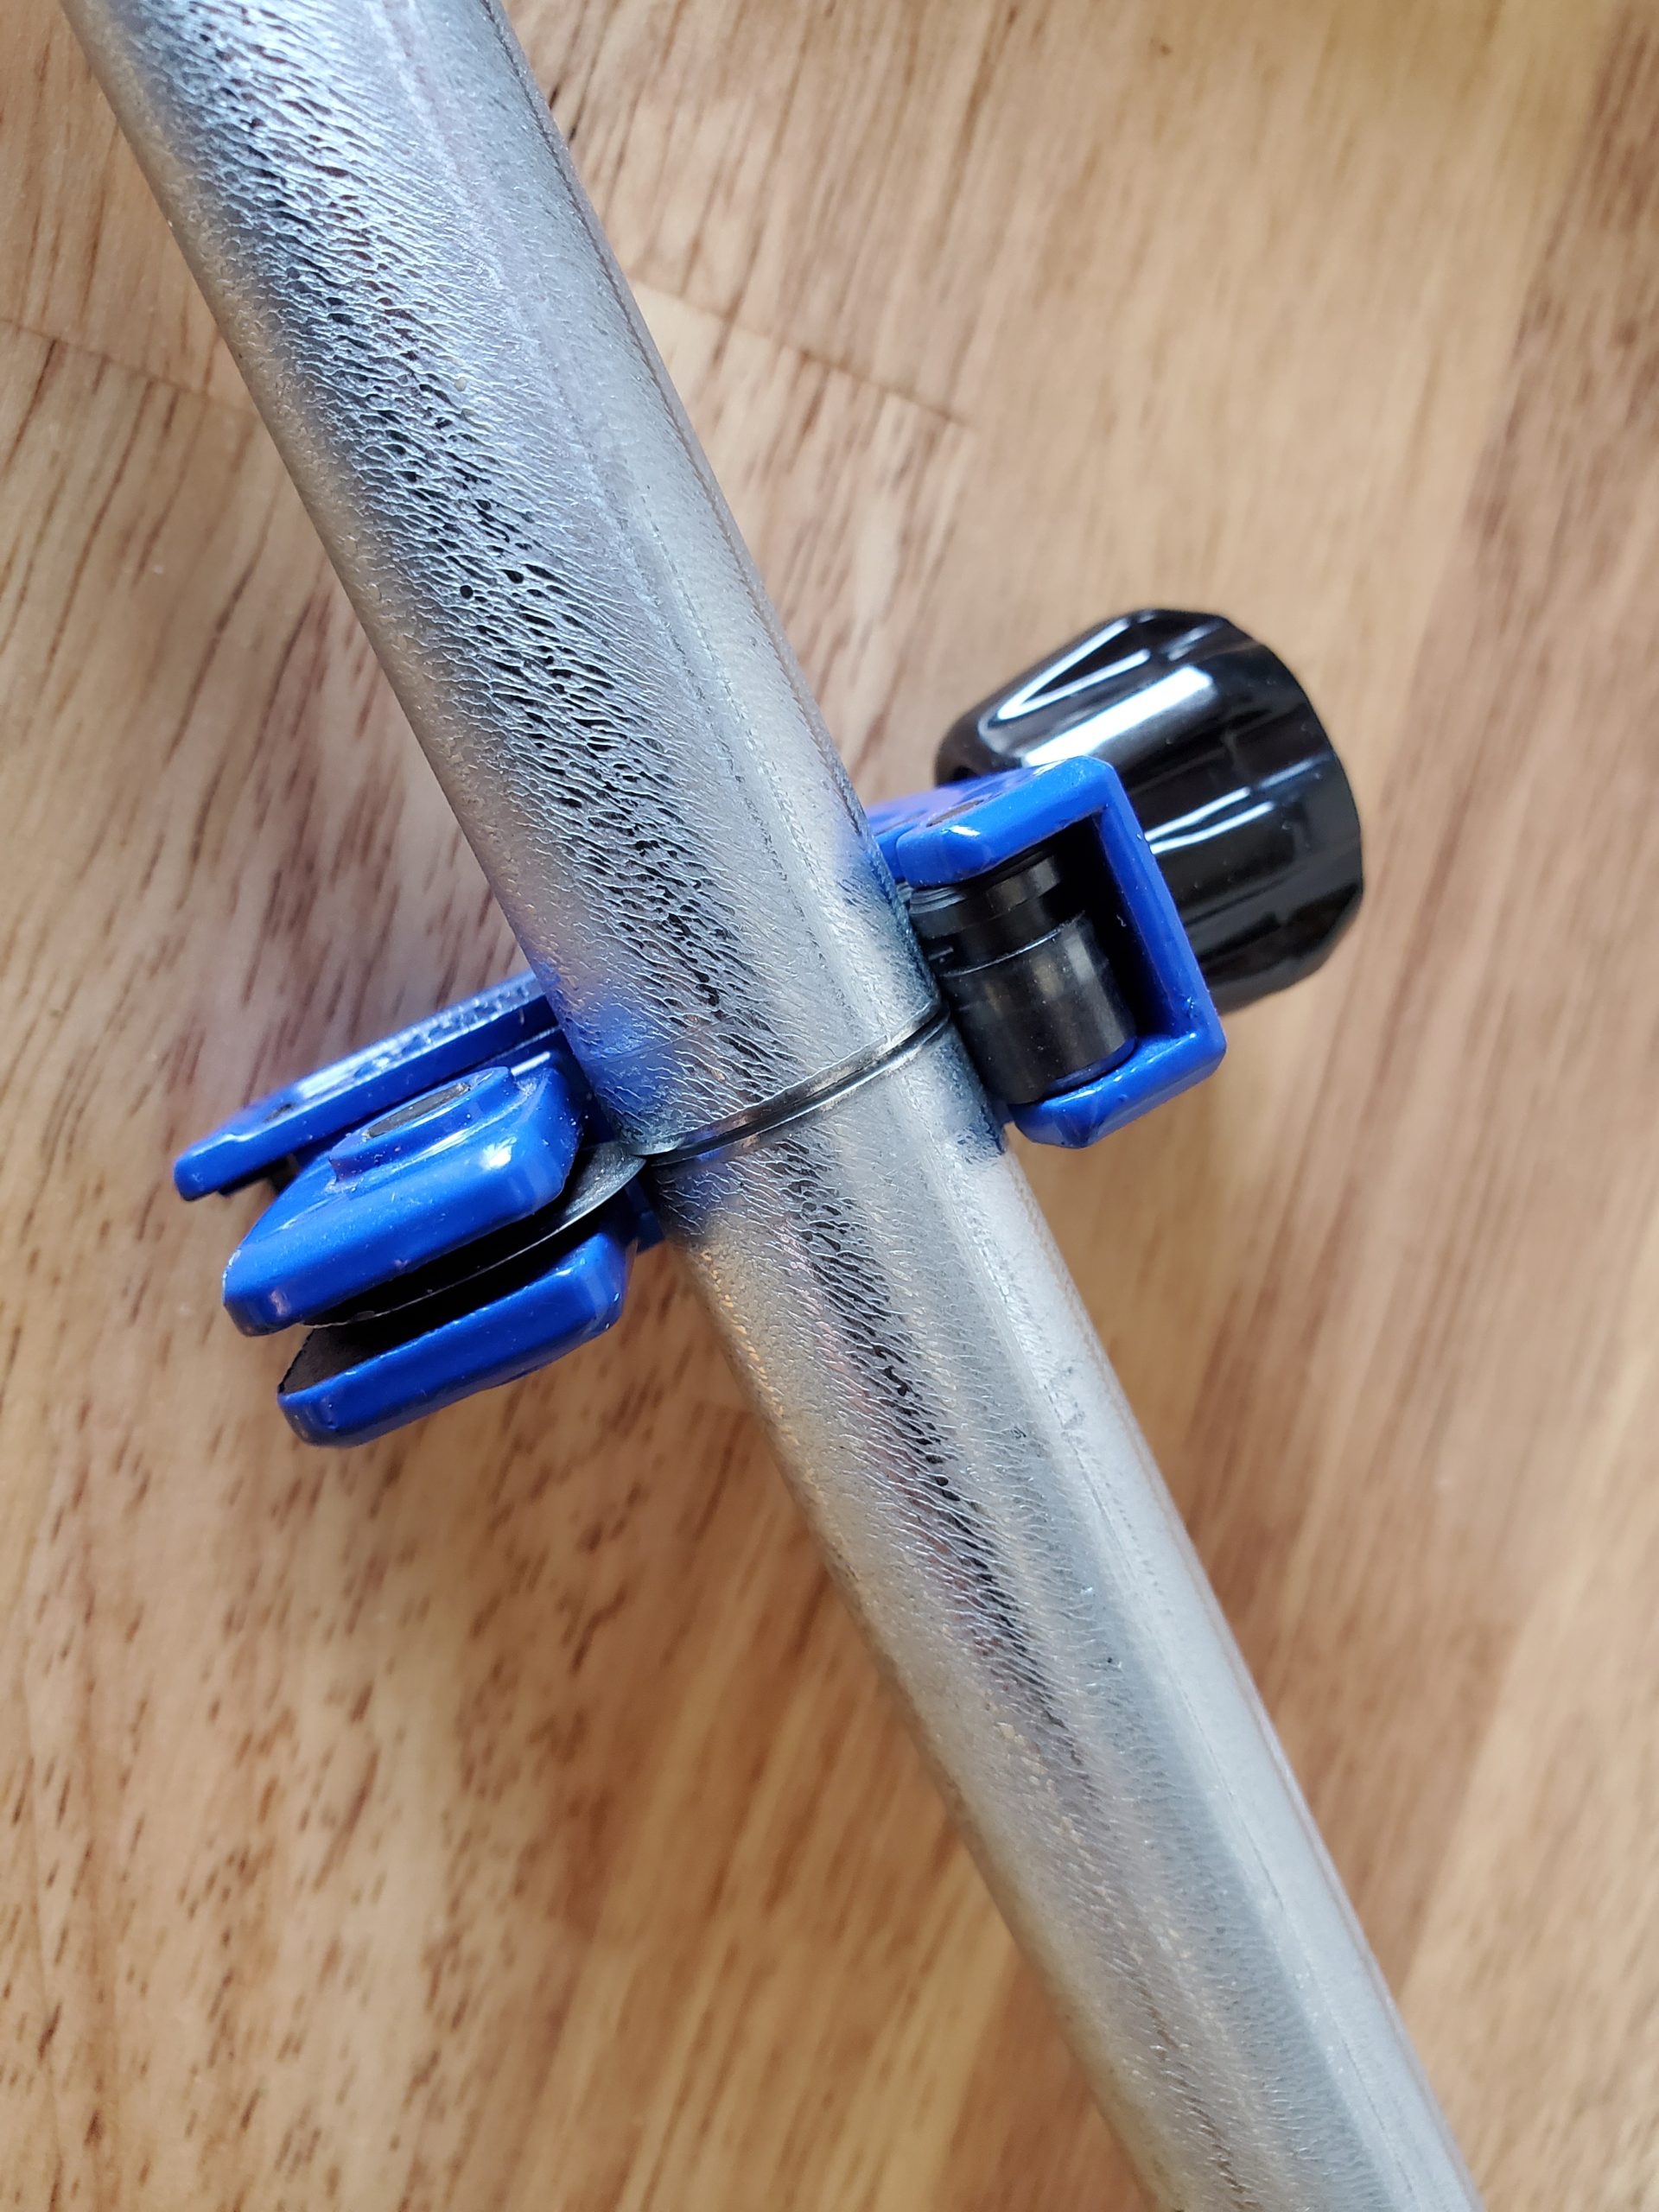
Step 3) Mount the camera module to the metal cover using 3M double sided foam tape. I found that I can cut it into strips and stack it in layers to get a snug fit. Below I’m stacking two layers of the foam tape on the right and left side of the camera module. Not all Pi cameras are the same and you may need another layer of tape to get the right fit.
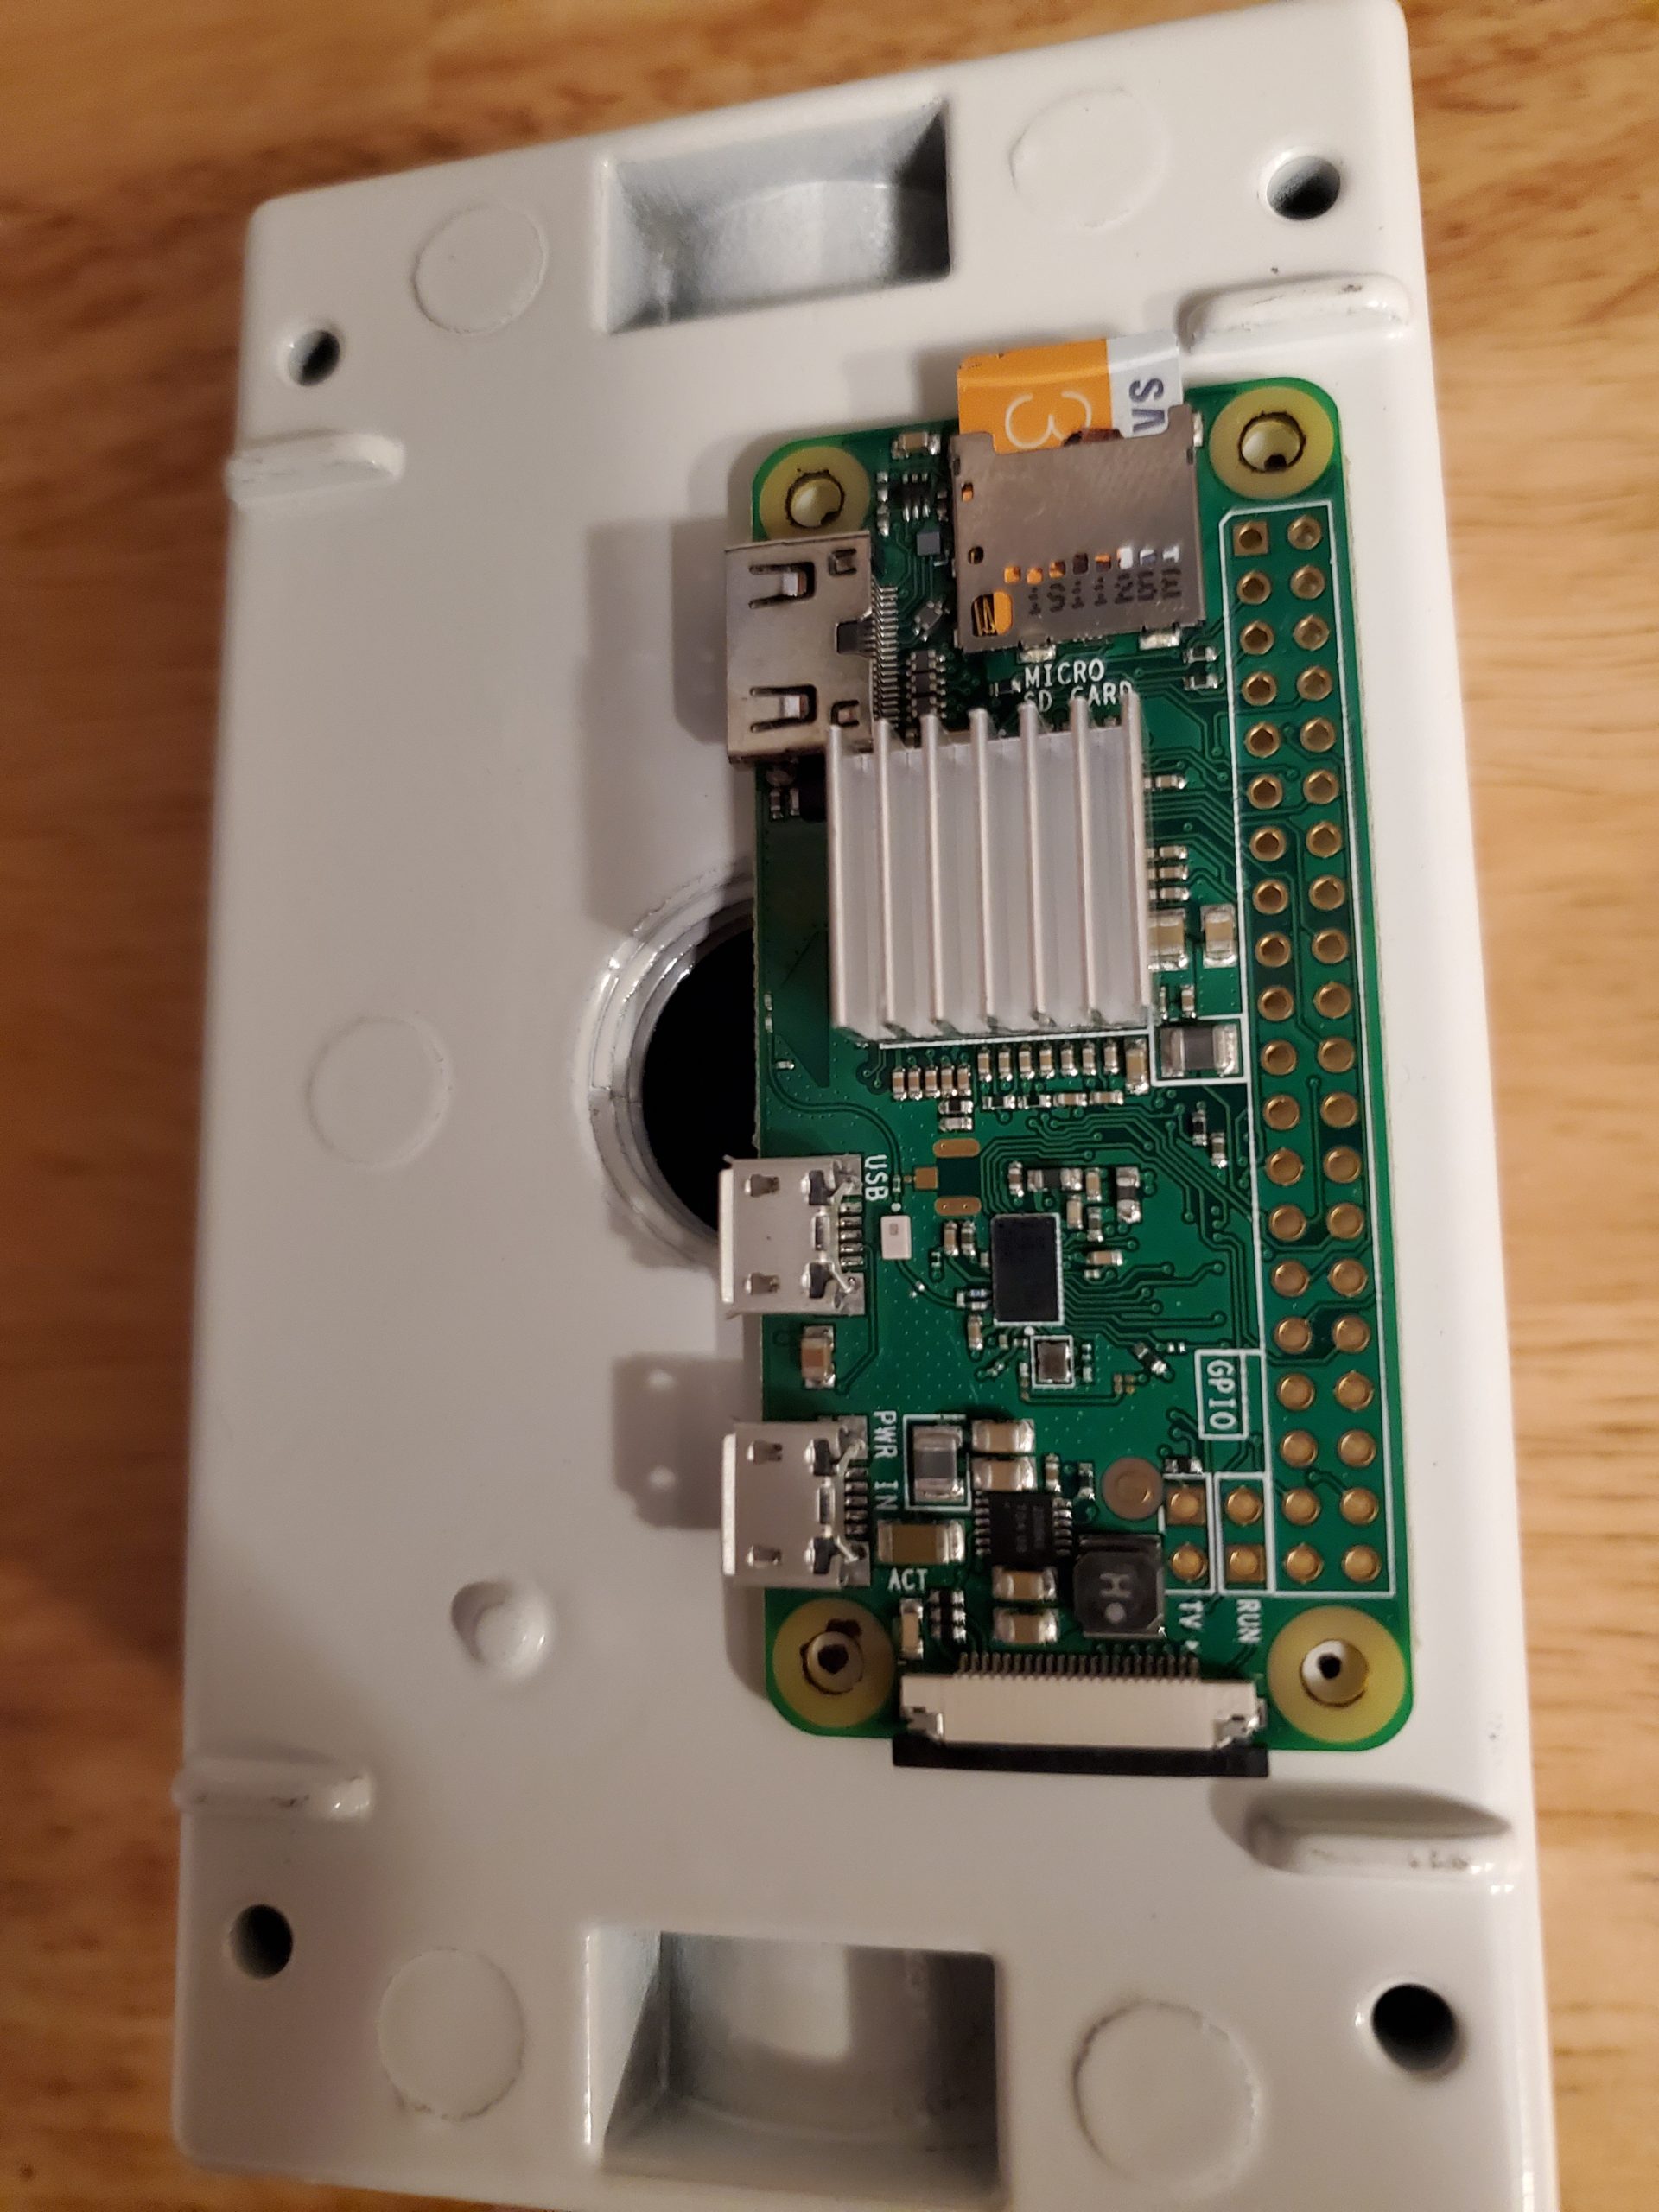
Step 4) Mount the Raspberry Pi Zero W inside the housing, using the screws, bolts, and mounting brackets from the parts list, and as shown below.
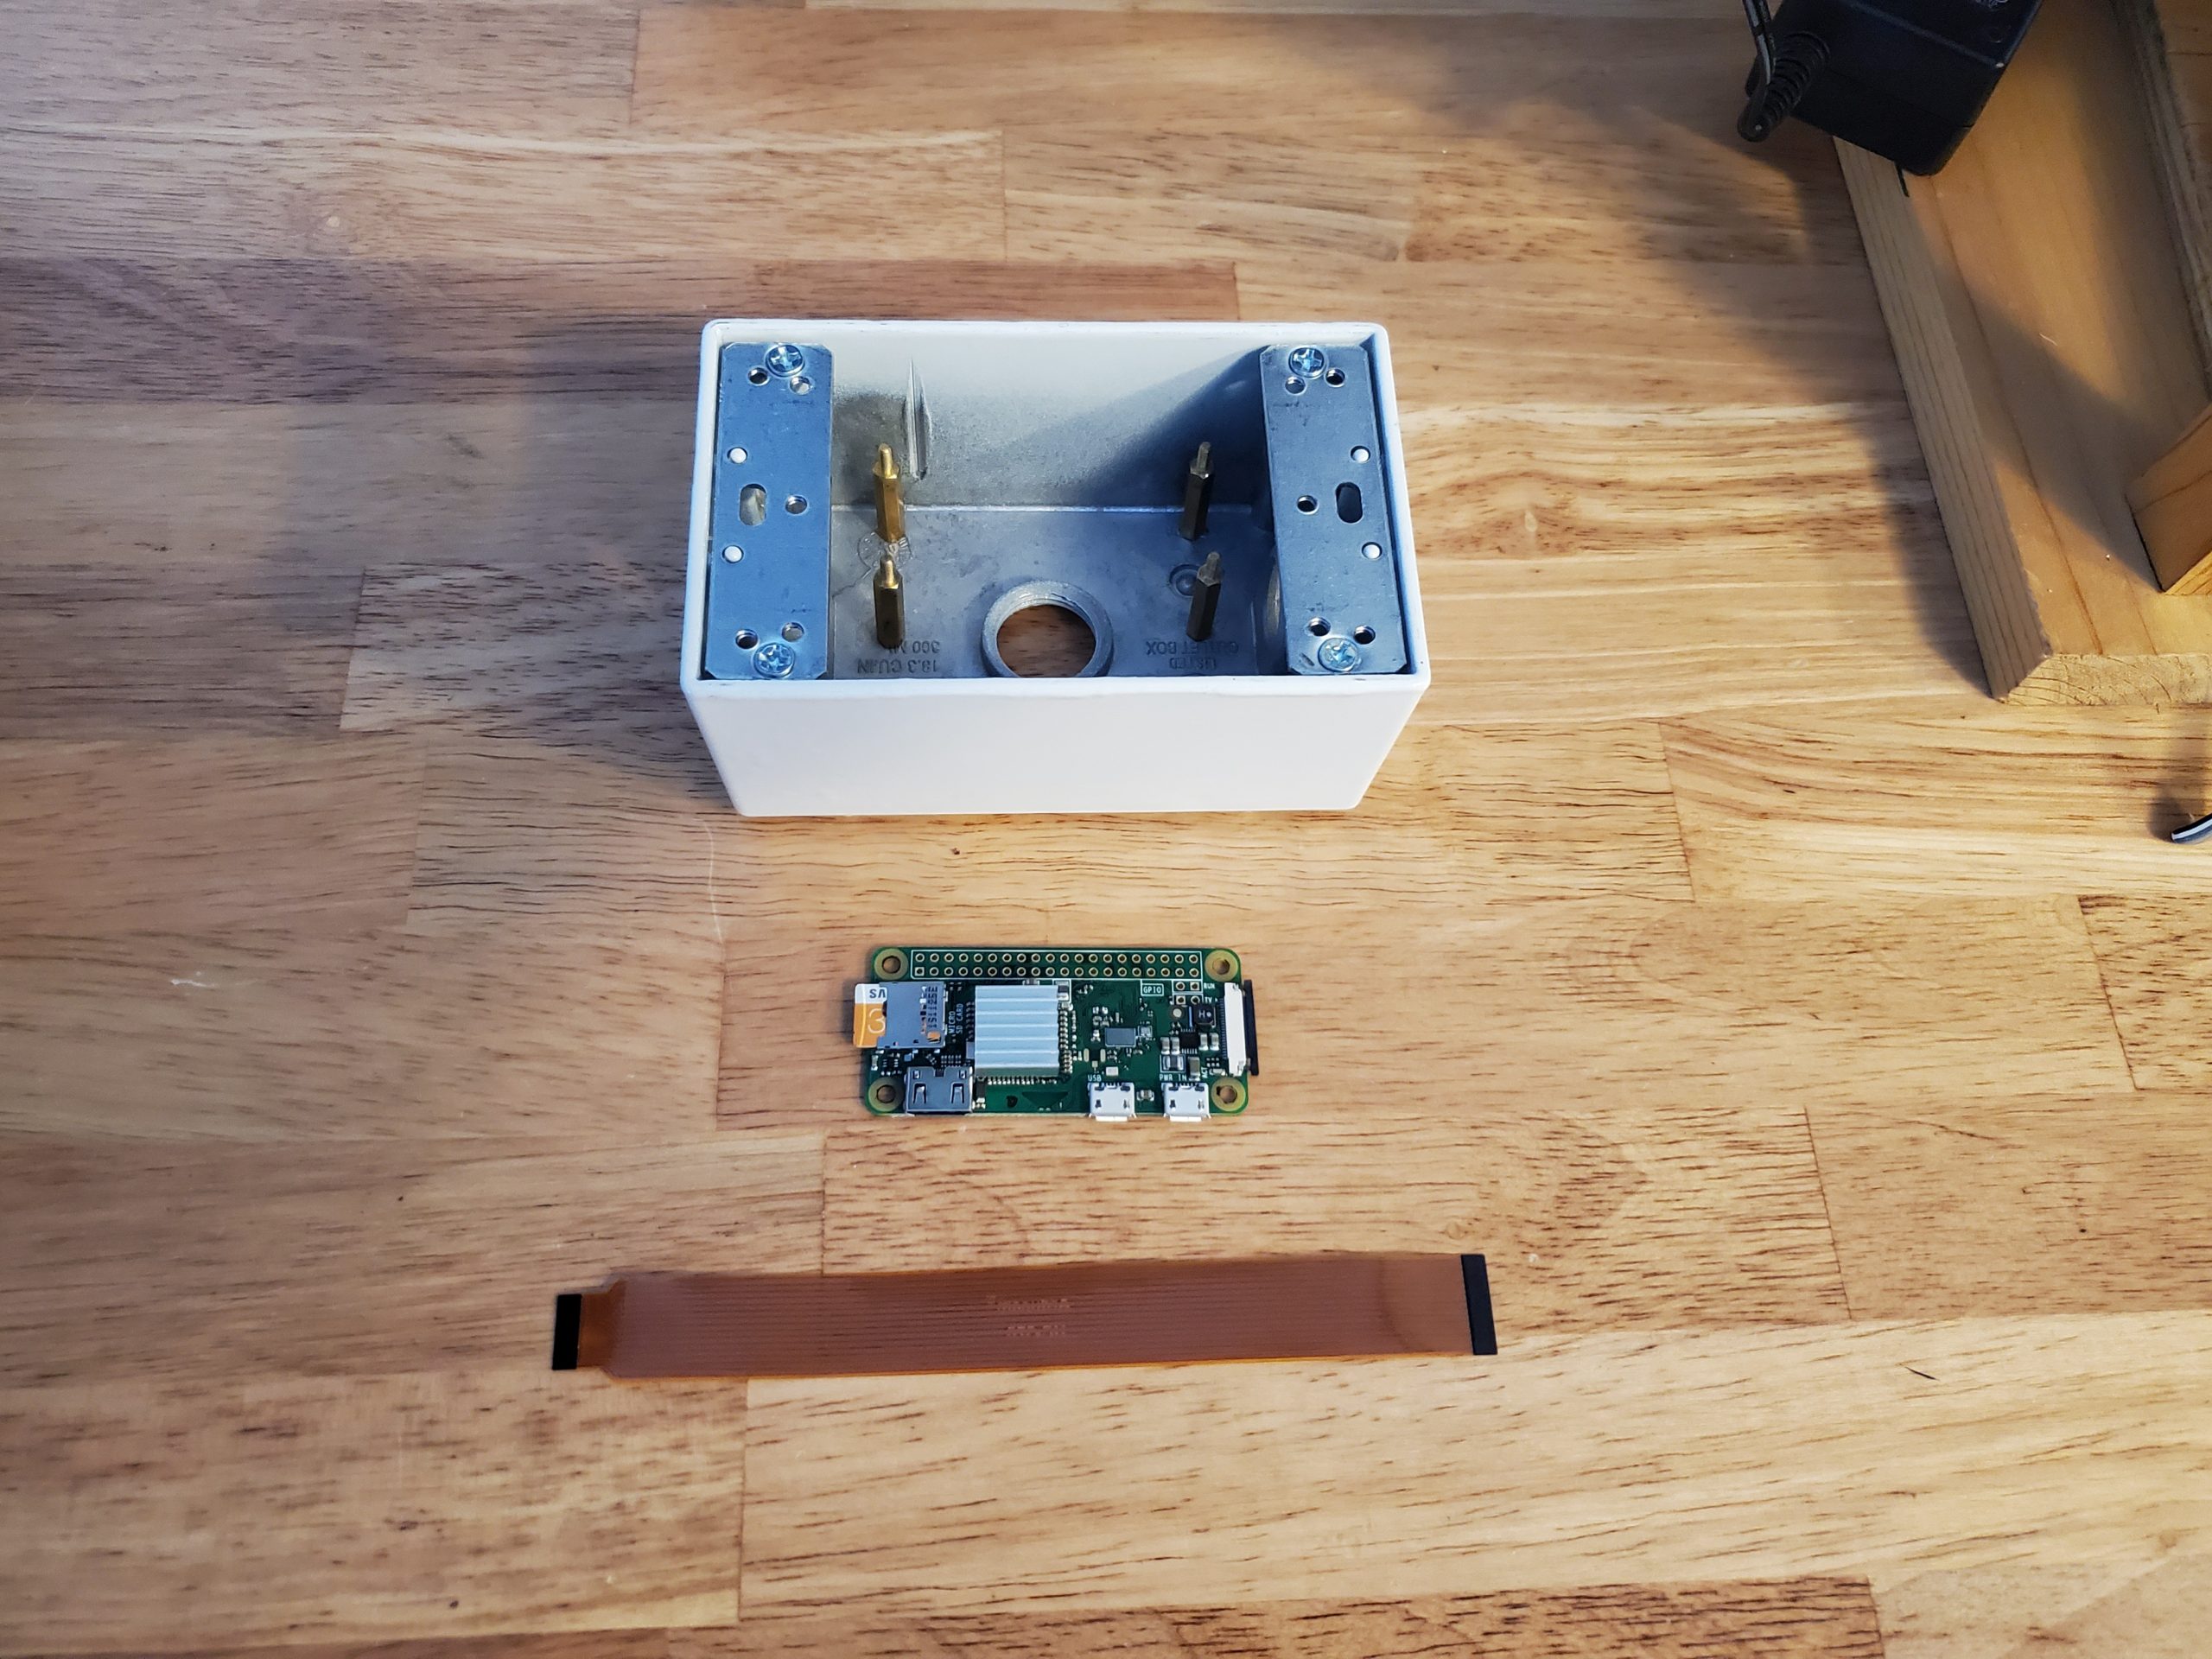
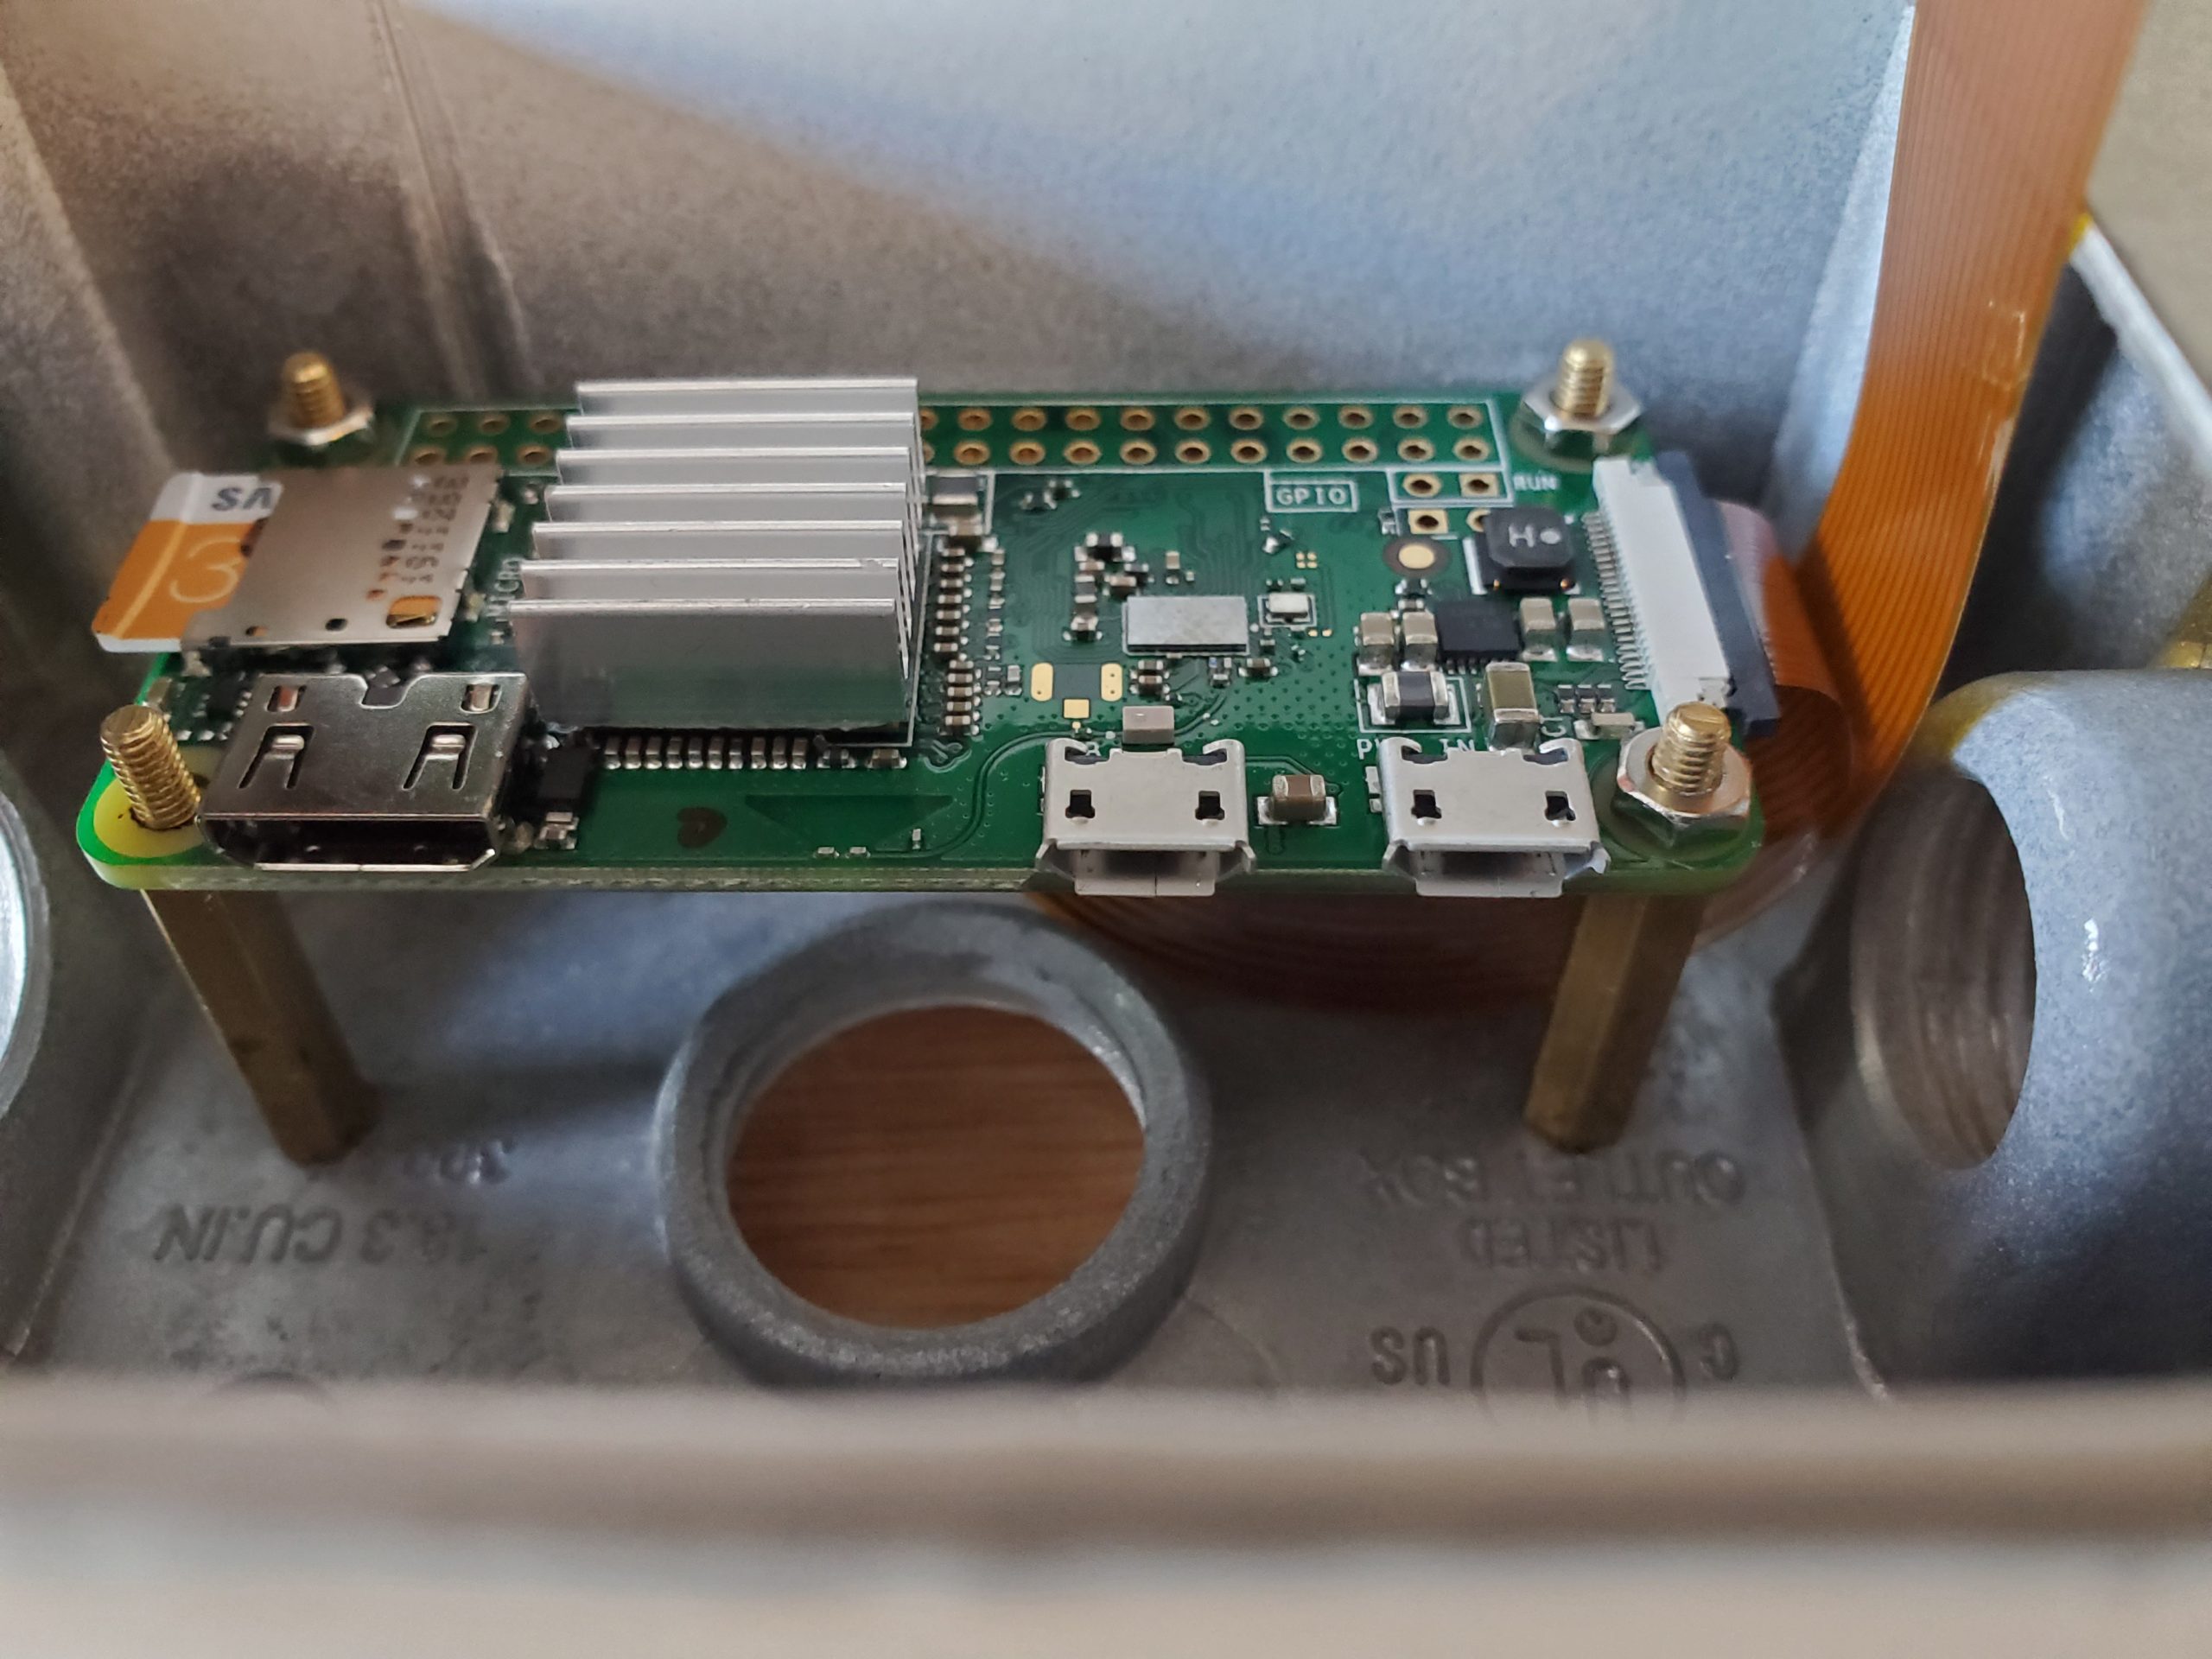
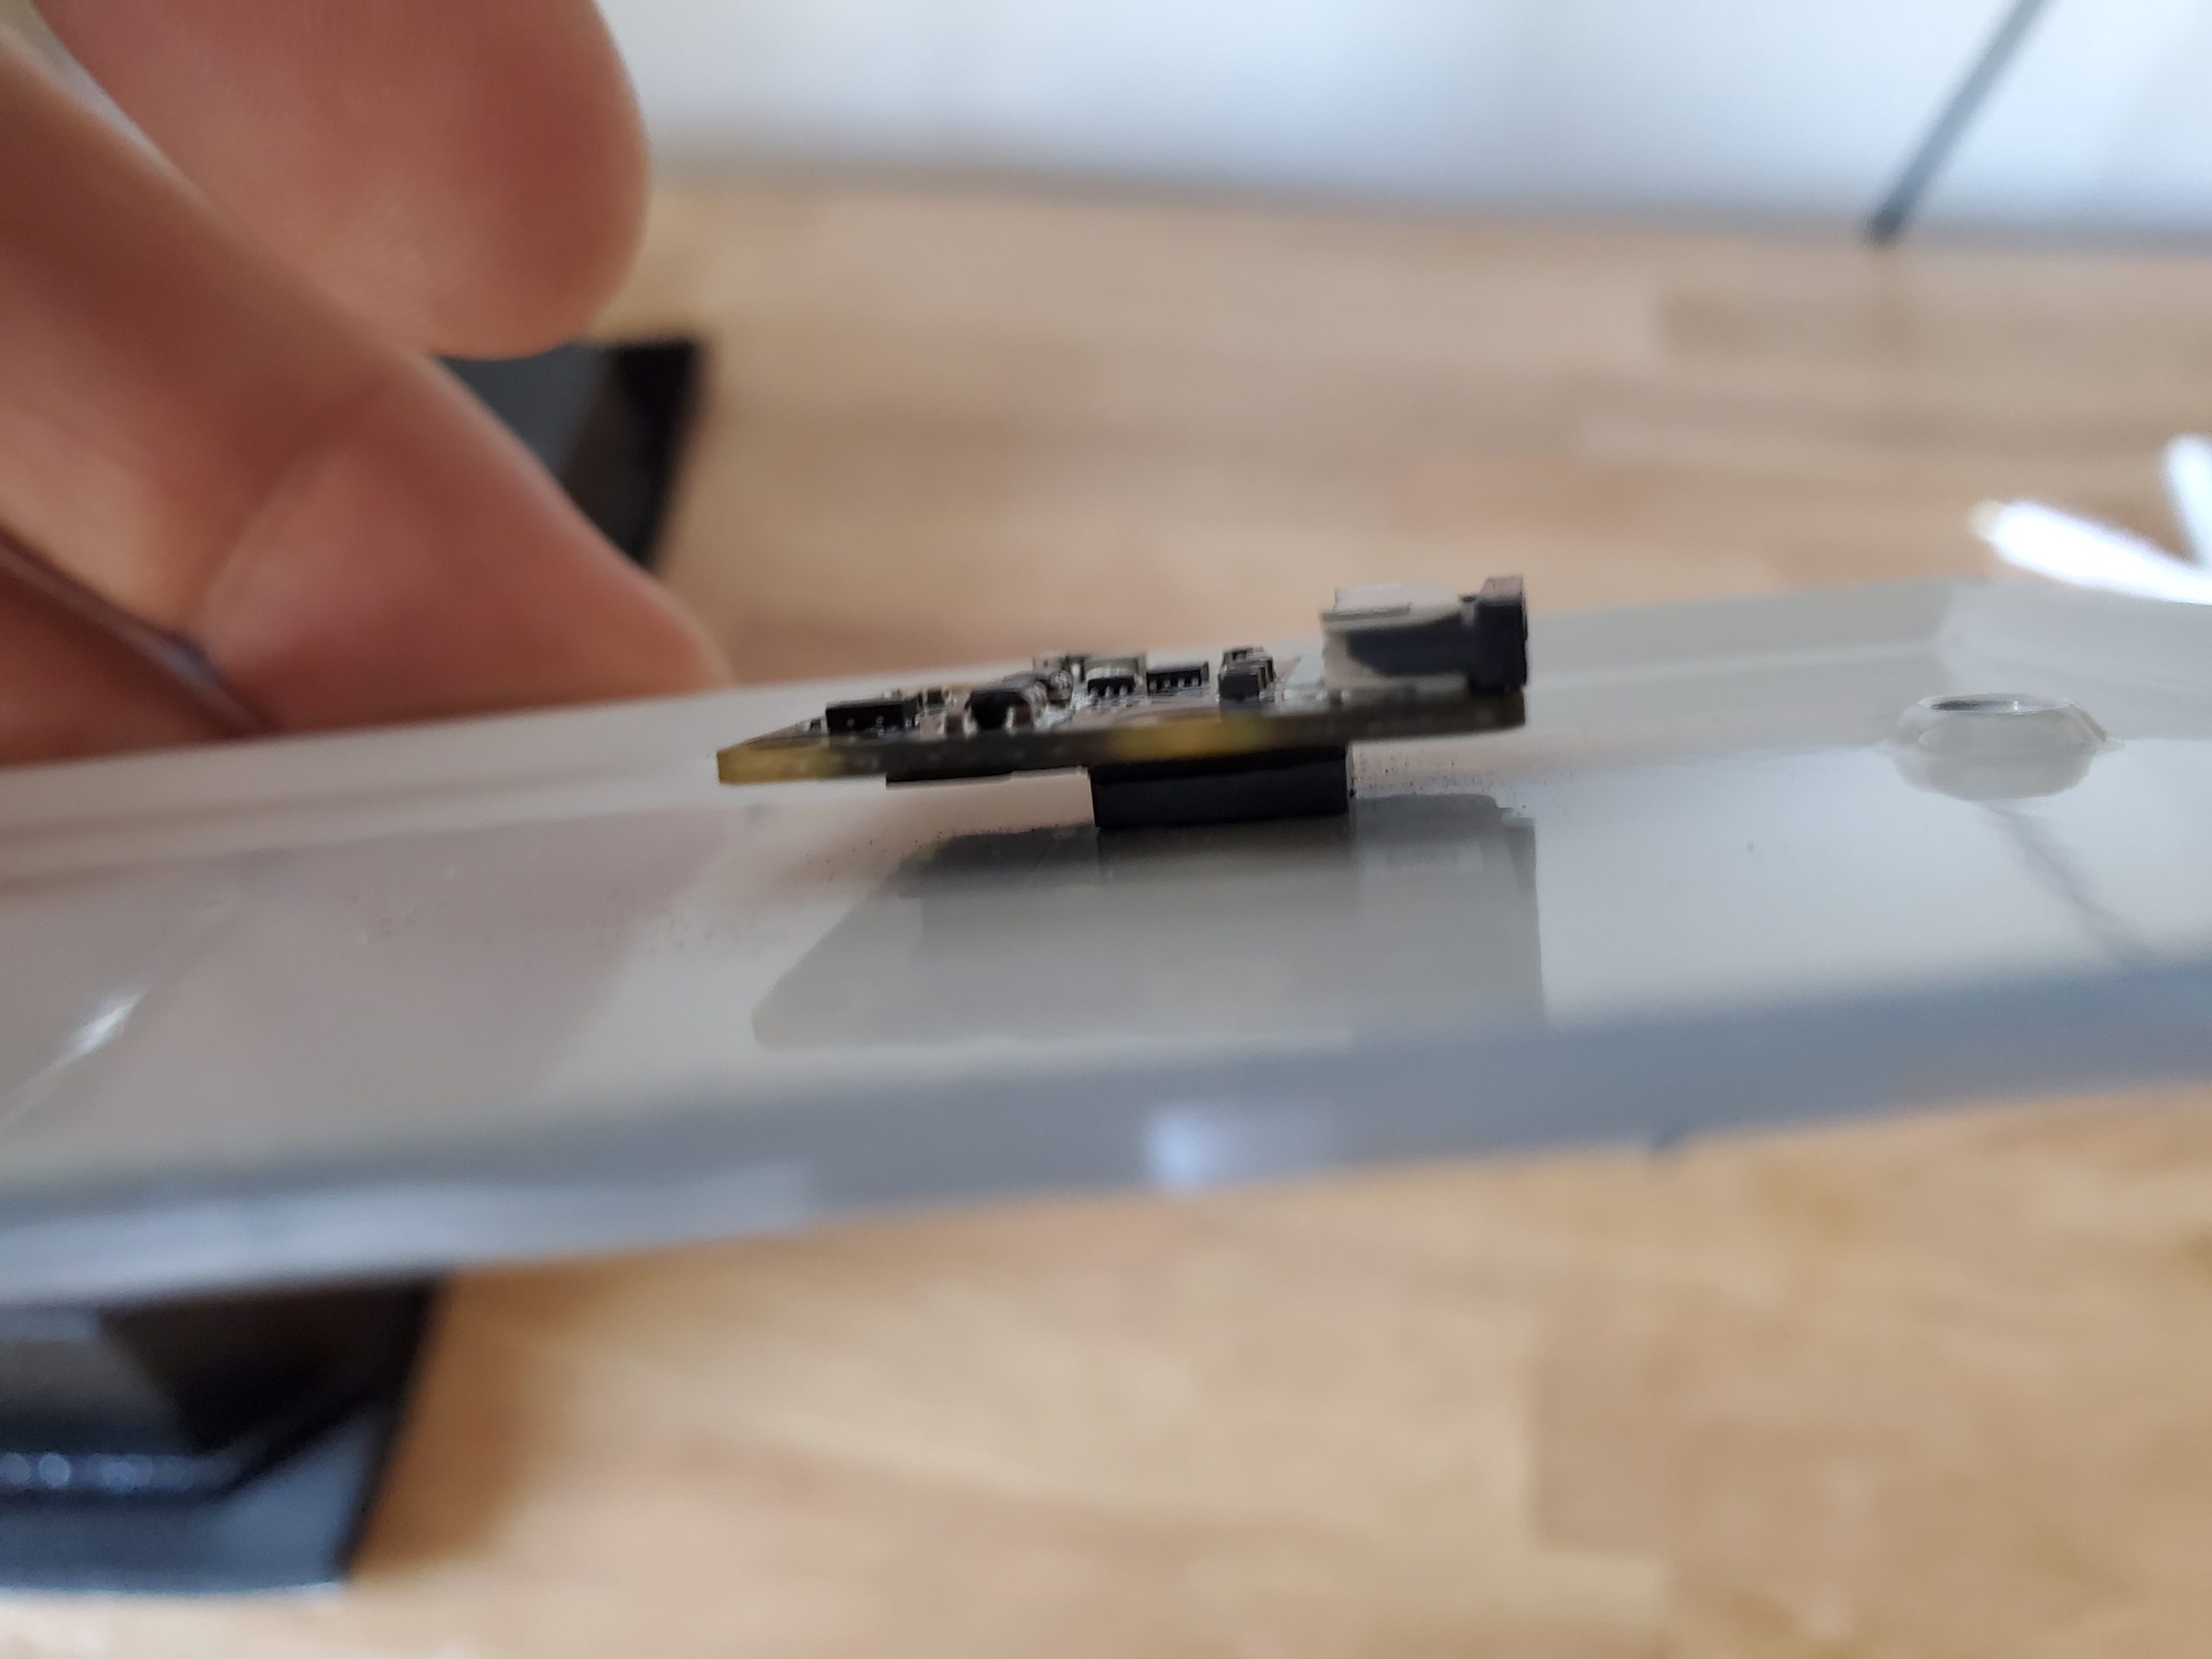
Step 5) Connect the camera cable to the camera module. This requires a little bit of finnesse, you want the camera cable to slide back behind the Pi device as you push the cover onto the housing.


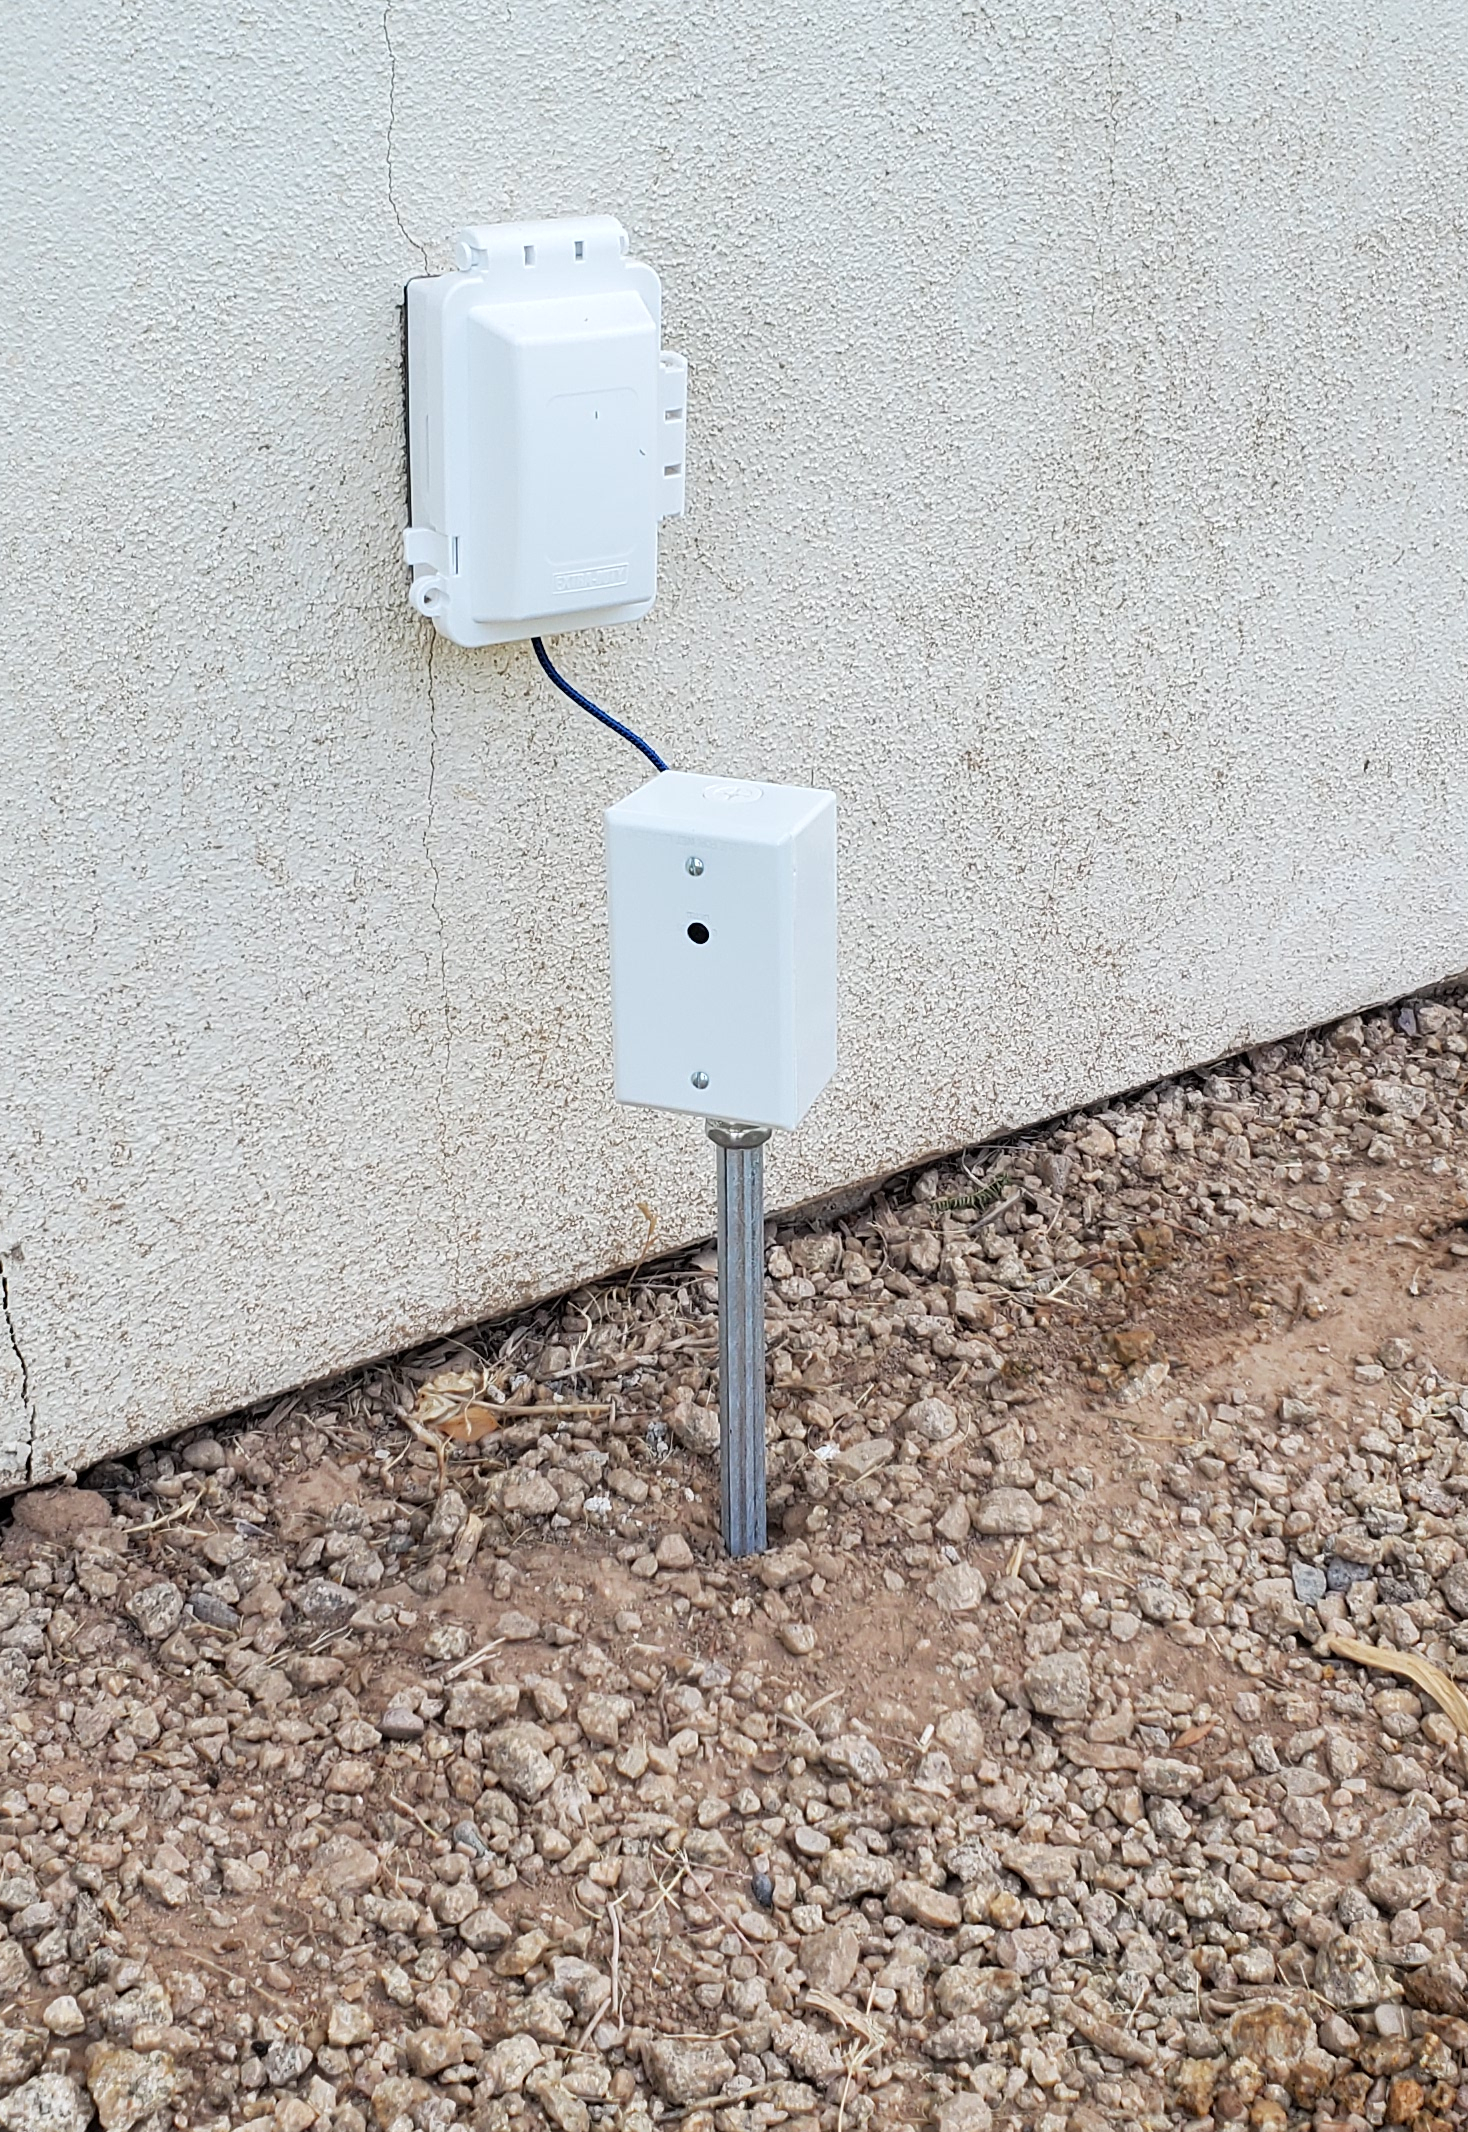
Step 6) Find a place to setup the camera, somewhere which has access to power. In this example I used a 1/2″ pipe as a mounting post for the camera housing. Cut the pipe to the desired height plus 12 inches using a saw or pipe cutter. Hammer the post into the dirt about 12 inches, then mount the camera housing using the 1/2″ conduit connector. Now we are ready to connect the USB cable to supply power to the Pi device. As an aside, you could also integrate with existing outdoor boxes/conduit for easy mounting.
I hope this was helpful! If you enjoyed this post, please share with others.