I’ve been working with Kiro CLI for the past few months and have found it to be a capable tool for both software development and technical writing. Its portability stands out—it integrates smoothly into virtually any development environment.
That said, running LLM-powered CLI tools directly in your local environment comes with considerations worth understanding. Commands executed locally have access to your system resources, which requires thoughtful permission management. Additionally, manual operations can become a bottleneck when you need to run jobs on a schedule or coordinate work across multiple environments.
Running Kiro CLI inside Docker containers on MicroK8s helps to solve these problems. The containerized approach isolates each job in its own sandbox, limiting what can go wrong if something breaks. MicroK8s orchestrates these containers, handling scheduling, restarts, and resource management automatically. You move your operations off your local machine and into a controlled environment where jobs run consistently, whether you trigger them manually or let Kubernetes handle them on a schedule. This setup transforms ad-hoc CLI operations into reliable, repeatable infrastructure tasks.
Before we get a started, please note a few prerequisites.
- Microk8s cluster (or other Kubernetes). See my related post on how to build one here.
- Docker CLI installed locally
- a Docker repository like DockerHub. See related post on how to configure MicroK8s to authenticate with your repository.
- a Kiro user account
Ok let’s get started!
First define the Dockerfile. This is just a basic example. This is where you can add more tools, context files, git repositories, etc as needed to create the perfect sandbox.
FROM arm64v8/ubuntu:25.04

RUN apt-get update
RUN apt-get install -y curl unzip sudo
RUN useradd -m -s /bin/bash quser

USER quser
WORKDIR /home/quser

RUN curl -fsSL https://cli.kiro.dev/install | bash
ENV PATH="/home/quser/.local/bin:$PATH"

CMD ["sleep", "infinity"]
Next create a kubernetes deployment configuration in a file called deployment.yaml
apiVersion: apps/v1
kind: Deployment
metadata:
  name: kiro-cli-deployment
  labels:
    app: kiro-cli
spec:
  replicas: 1
  selector:
    matchLabels:
      app: kiro-cli
  template:
    metadata:
      labels:
        app: kiro-cli
    spec:
      imagePullSecrets:
        - name: regcred
      containers:
        - name: kiro-cli
          image: YOUR_DOCKER_LOCATION/kiro-cli
On your local host, open a terminal and run docker to create the image. Use the following Docker command to build and publish an ARM64 compatible version. Update the command with your docker hub location. This assumes you’re running MicroK8s on a Raspberry Pi. Adjust the build command to support alternate platforms.
docker buildx build --platform linux/arm64/v8 --push -t YOUR_DOCKER_LOCATION/kiro-cliOn the Microk8s node, run the following command to deploy the Kiro CLI container.
microk8s.kubectl create -f deployment.yamlThe container will take a minute or two to initialize. Confirm the container is healthy with this command.
microk8s.kubectl get podsWhen the status says “Running” the container is ready to use. To access the container use the following command. Update to include your pod name.
microk8s.kubectl exec -it YOUR_POD_NAME -- bashThis will bring you to the command line for the container. Log in and start Kiro with the following commands
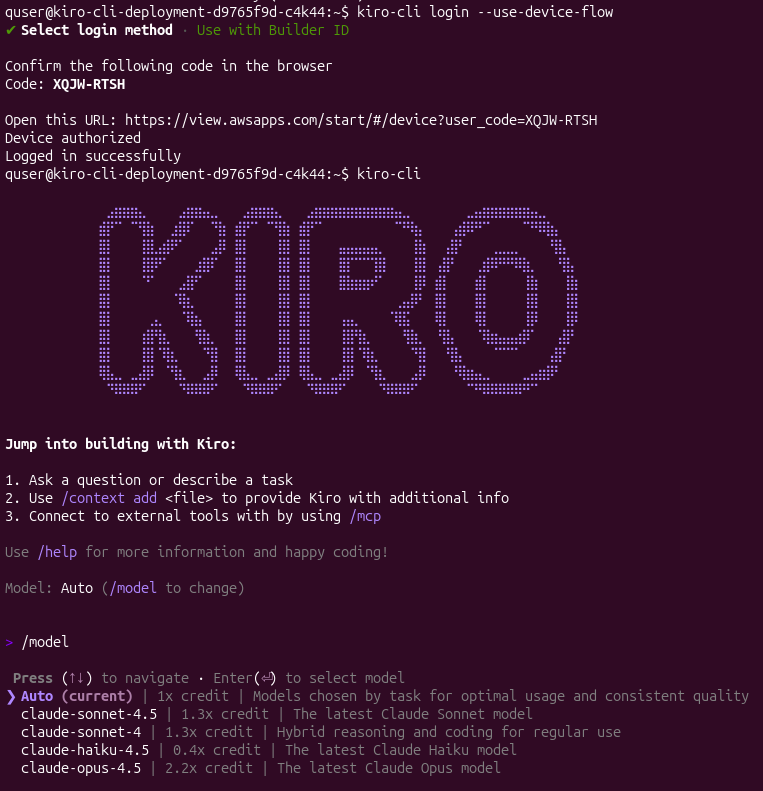
kiro-cli login --use-device-flow

kiro-cli
, you should see an output like below.
If you enjoyed this post you may also be interested in these related posts: